Once you have done your BPU’s and logged your car, you may now want to take the next steps in tuning. Usually this will mean larger injectors, bigger turbos etc.
These sort of modifications will require supporting with various other components such as a fuel computer, fuel pressure regulator and, most importantly, an uprated fuel pump such as a Walbro 255lph pump.
Below is a rough guide with some photos
PLEASE BE AWARE THIS IS ONLY A GUIDE TO HELP YOU, I ACCEPT NO RESPONSIBILITY FOR DAMAGE OR INJURY SHOULD YOU UNDERTAKE THIS WORK!!
Having said that, I will try to make this as accurate as possible and I welcome any contructive criticism. I will edit as appropriate.
Firstly, you will need the new pump and a hotwire kit which available from the Evil Empire. This kit contains everything you need to ensure a constant full voltage to the pump. This is a must as the standard pump runs at a lower voltage until well up into the rev range and if not hotwired, a Walbro will actualy flow less than the standard pump!
The first step is to reverse your car onto some ramps. This is so you can access the fuel line underneath. Ramps are a much safer option than jacking the car up. If you dont have ramps, use axle stands. Never work under a car that is only supported by a jack!
Once on the ramps, disconnect the fuel solenoid (down near your air filter) and start the car. The car should fire, then die straight away. This removes the pressure in the fuel lines.
Now disconnect the battery
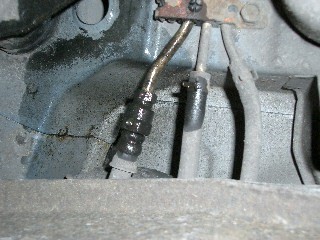
Next, get under the back of the car and generously spray the union nut between the hard and flexible sections of the fuel line with WD40 or PlusGas and allow the oil to penetrate.
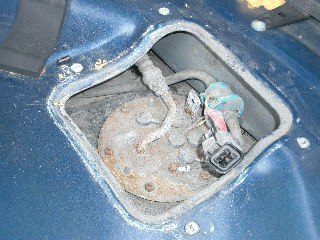
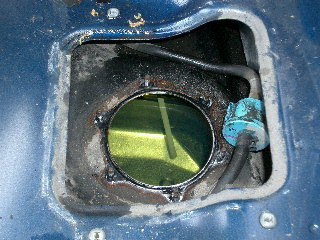
Whilst this is soaking in, remove everything fom the boot and locate the fuel tank access panel and remove. This will reveal the top of the fuel tank where the fuel pump assy is located
Now undo the nut you have soaked in WD40. If you try and undo the the top conection through the boot, you may snap off the hard pipe coming off the tank.
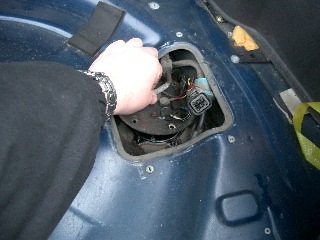
Next, undo the screws holding the fuel pump assy onto the petrol tank and the electrical connections to the pump. Take care to ease this off gently as there is a rubber seal between the top panel and the tank which you dont want to damage.
http://www.gtouk.org.uk/images/FAQ/fuelpump/seal.JPG
Carefully withdraw the fuel pump assy from the tank, making sure you allow the excess fuel to drain back into the tank.
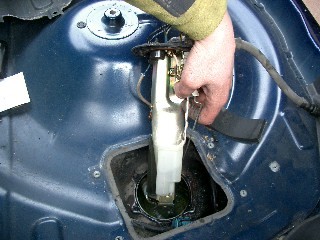
At the risk of stating the obvious, you now have our fuel tank open to the air. MAKE SURE THERE ARE NO NAKED FLAMES NEARBY!! If you are in a garage, ensure it is well ventilated. Petrol vapours are insipid and can pool at ground level and in inspection pits etc. BE CAREFULL!!
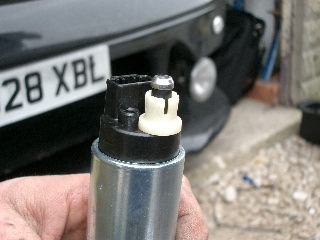
You can now carefully remove the old fuel pump from its mounting.
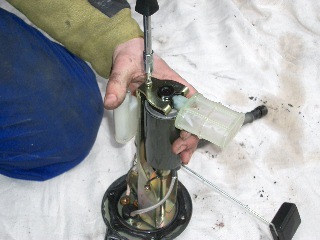
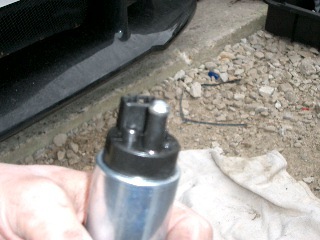
Notice how much smaller the new pump is!! (Its the one on the right  )
)

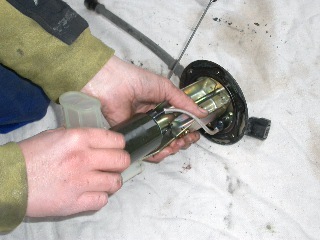
Depending on where you get your aftermarket pump from, you may or may not get the 3 parts to the plastic seal which attaches the top of the pump to its mountings. Mine didn’t so we had to use the bits of the original. The following photo’s show how it goes back together.
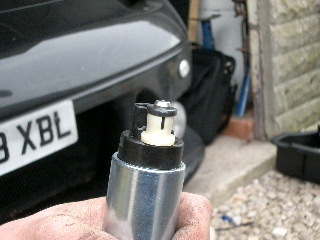
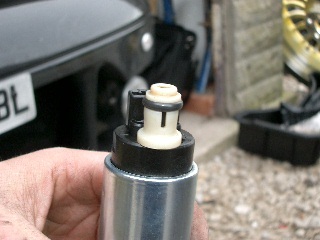
The new fuel pump I had was a few mm shorter than the original and didn’t seem to sit as well in the assy as the original, therefore we installed a cable tie as a spacer which seemed to work well.
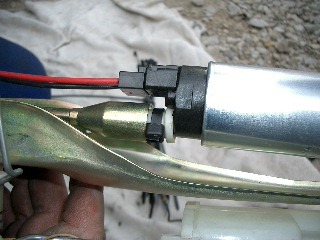
Now you can put the assy back in the fuel tank (after ensuring all nuts are tight!). Again, take care with the rubber seal.
Now for the hotwiring!
The major ballache with this is getting the power cable from the battery, through the bulkhead and the cabin and into the boot. I’m afraid thers no easy way around this, unless of course you already have power in the boot from an ICE install (if you use that, ensure your fuse is big enough to take the extra load.)
It would make this post too long if I were to go into detail into how the pump is wired up, and there are various write-ups on the forum and on Jeff Lucius’ site on what to do. Suffice to say, if you are in any doubt, make sure you enlist the help of someone who has done this before.
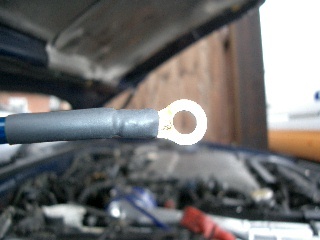
The following photo’s just show the relay and wiring and are just there to show you how thorough Mark Beales is when he does something.

And thats it!
Mat