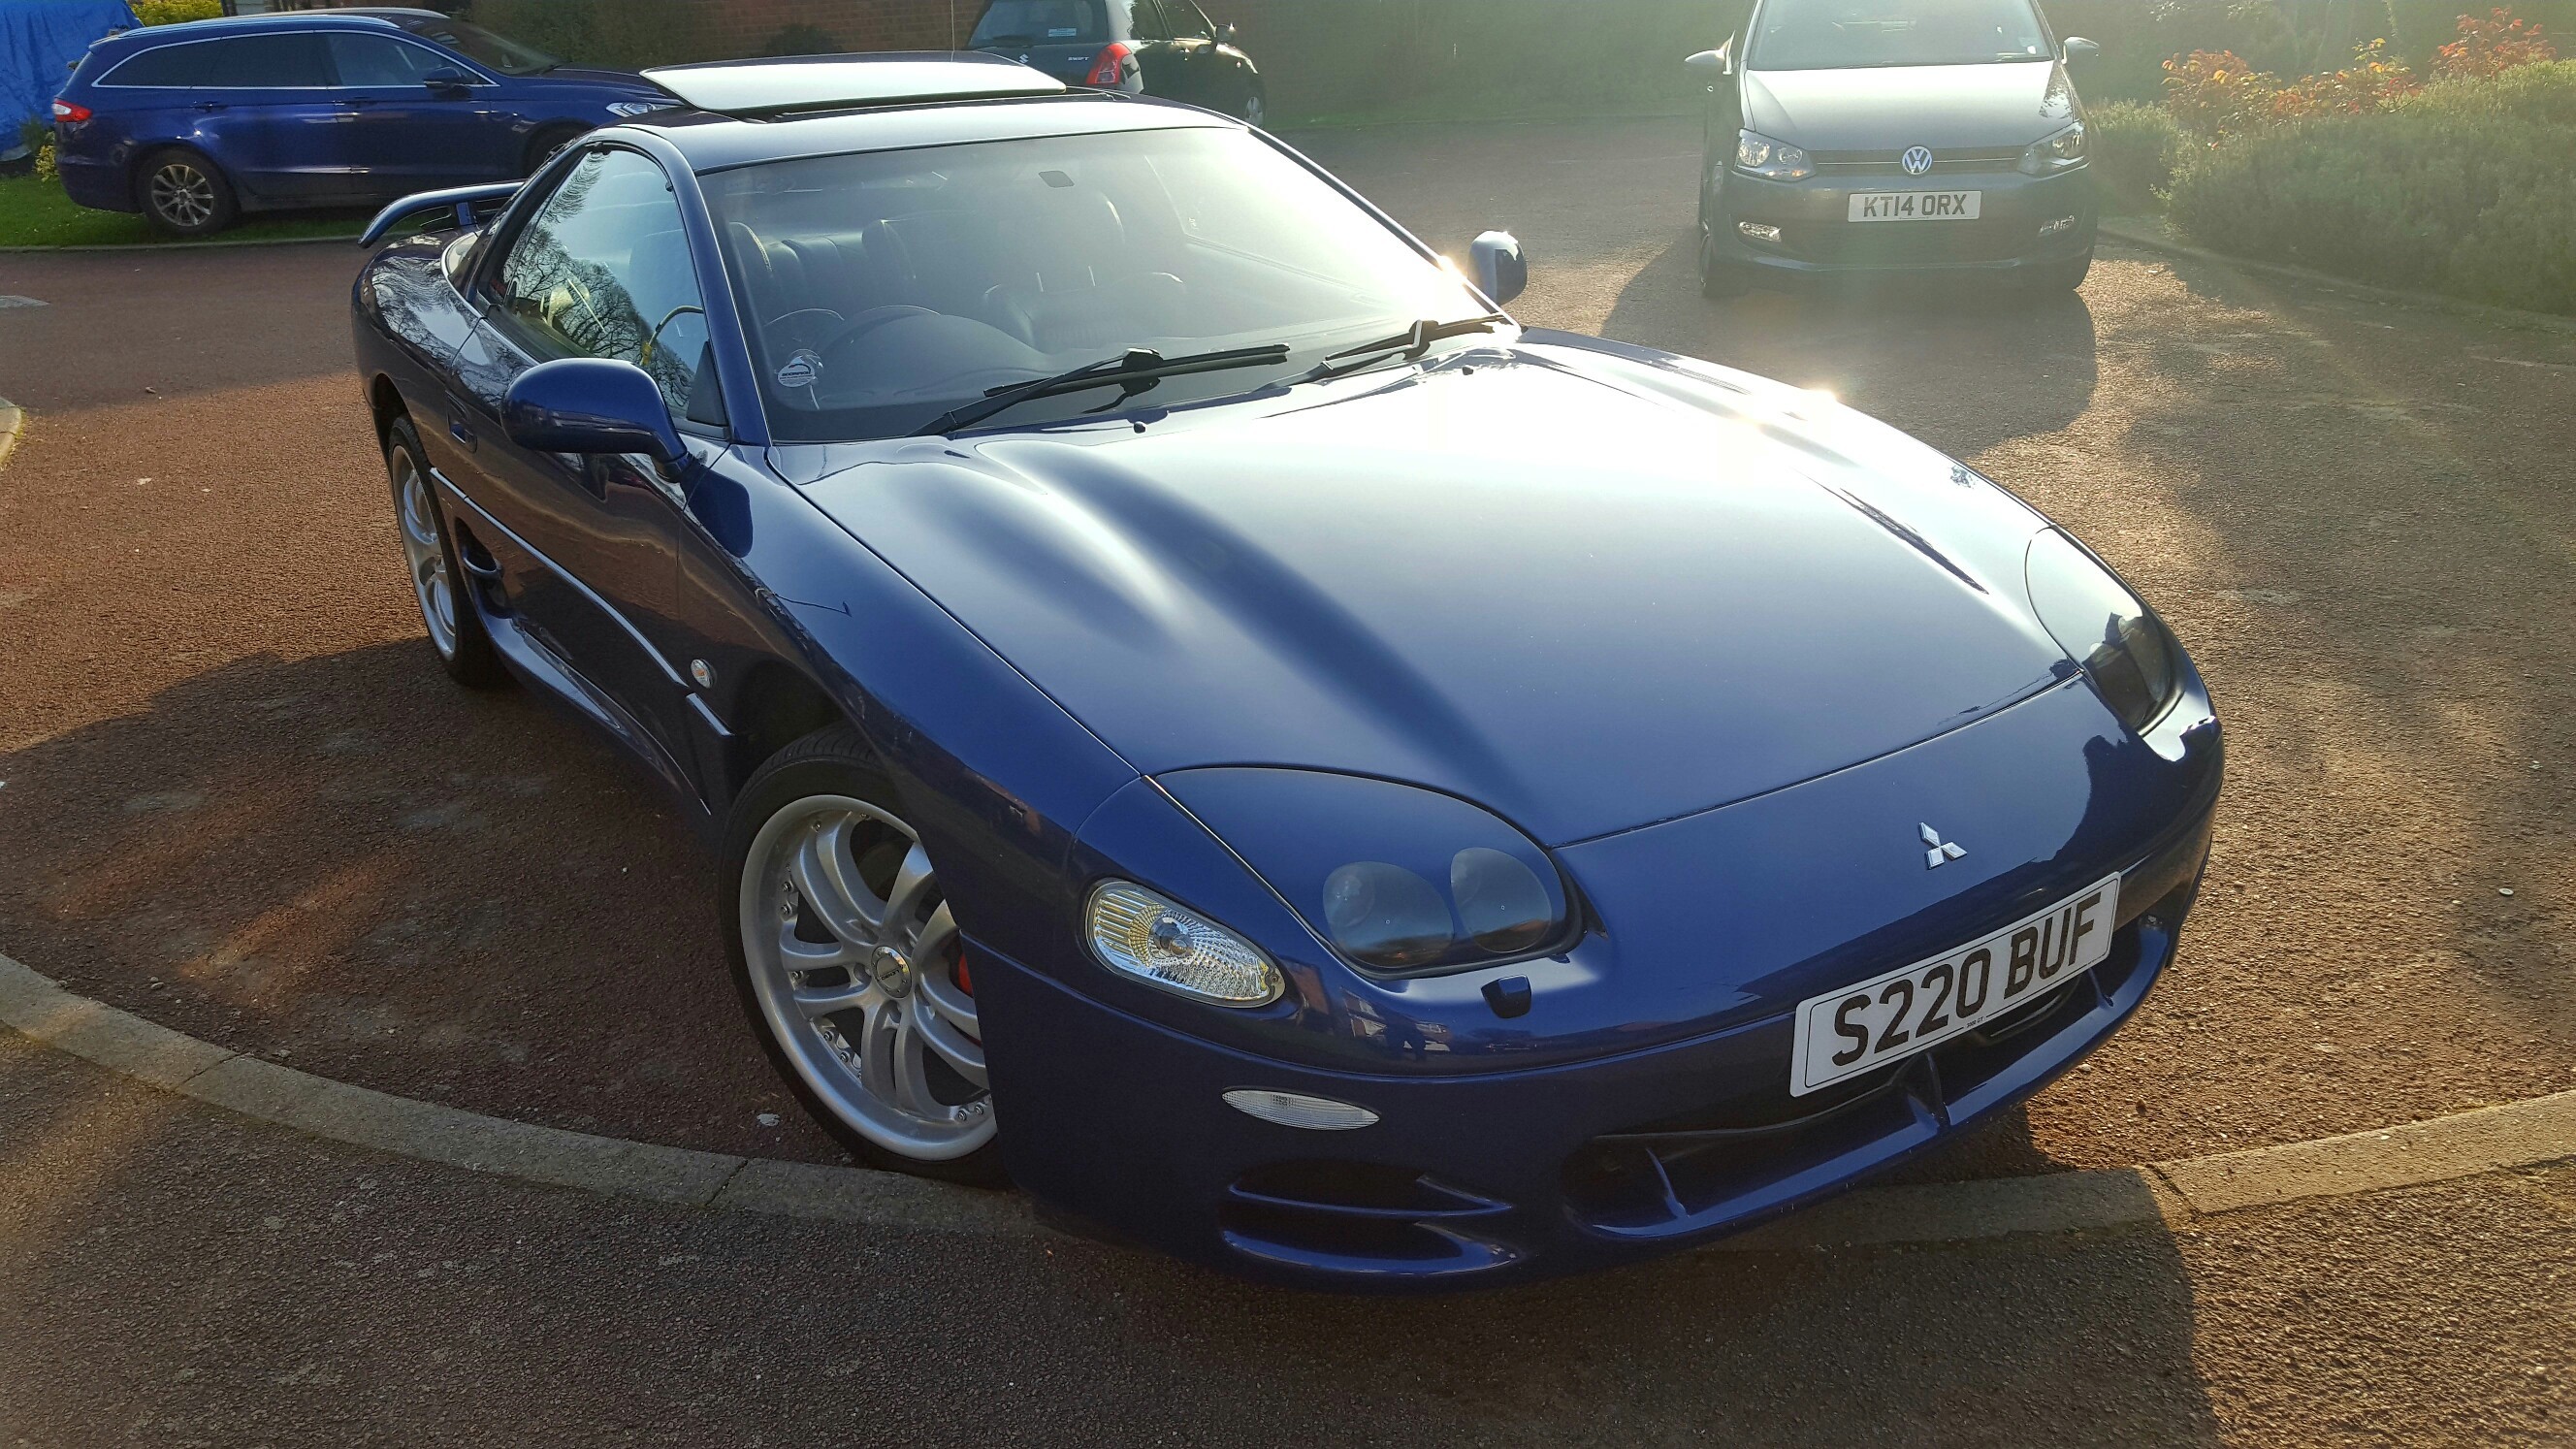
I wouldn’t feel too bad about it, I’ve spent more than that now and mine is more rust than car…
The wheel hub is actually pretty easy to take off, I’m a novice and it didn’t take me much effort. Haven’t gone as far as the bearings though or taken the hub fully off due to not having a ball joint splitter that fits. Same with brakes, easiest car I have worked on to change them on. So far nothing has been seized!
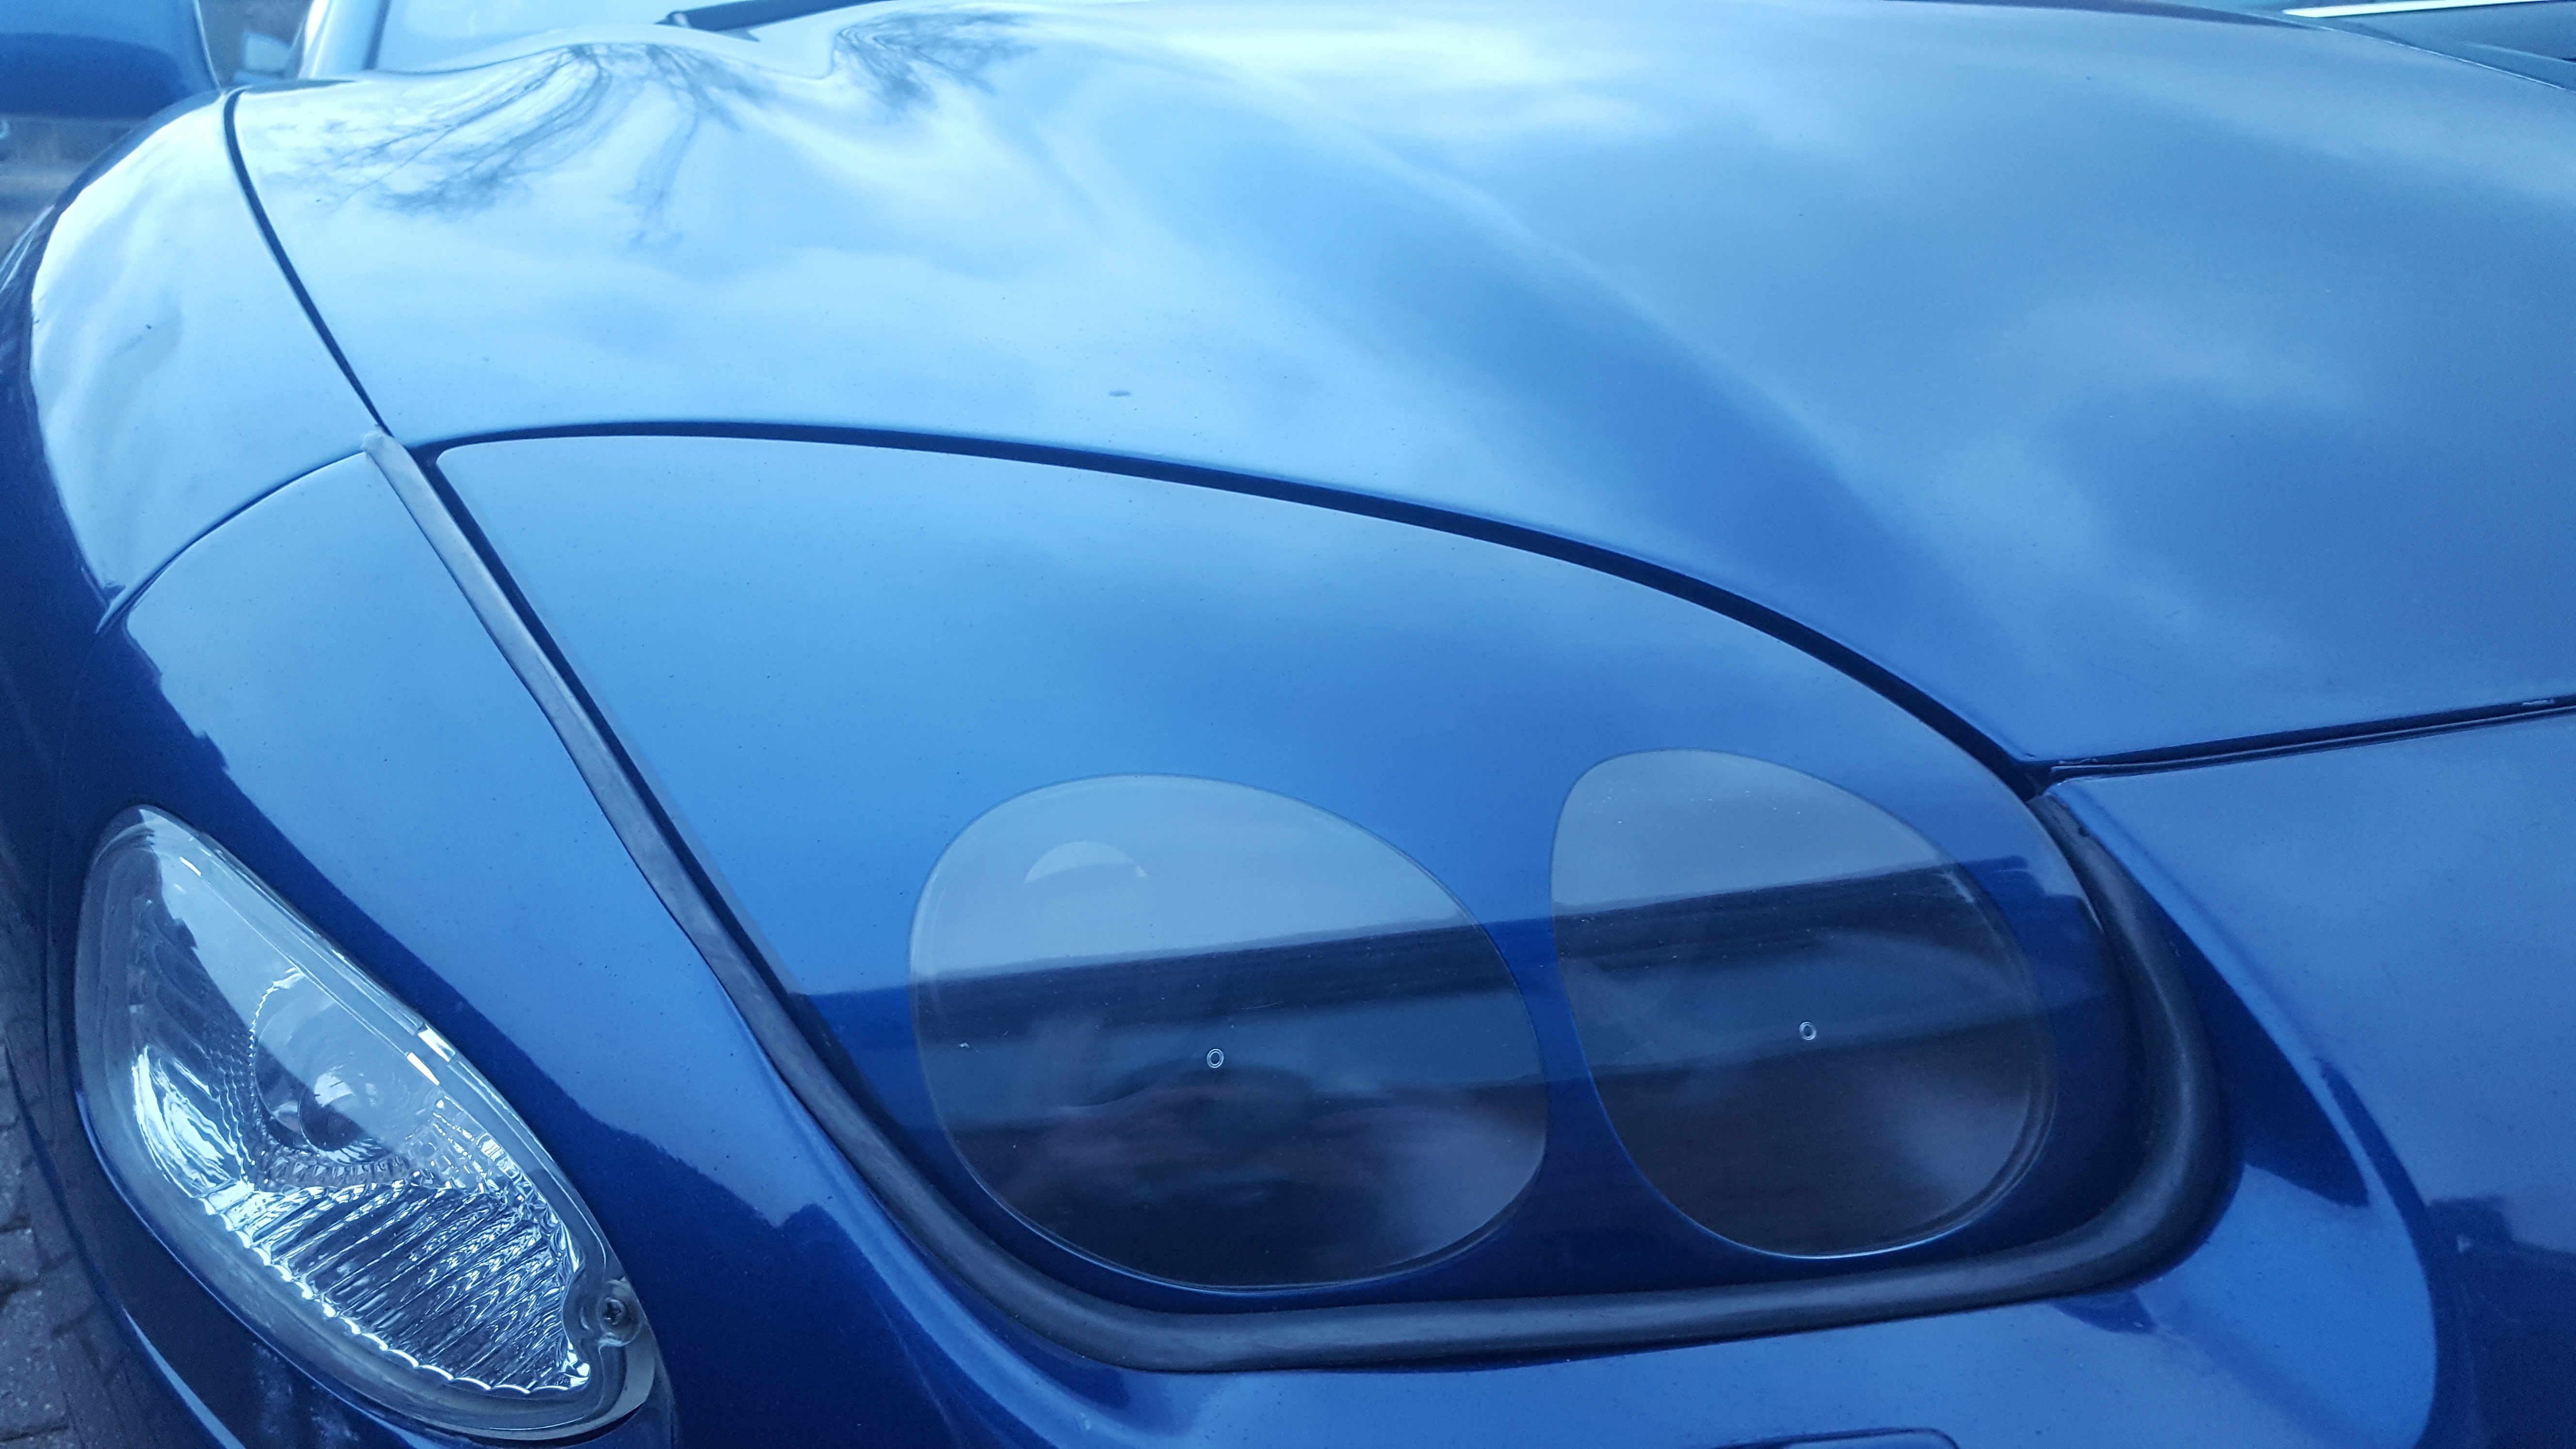
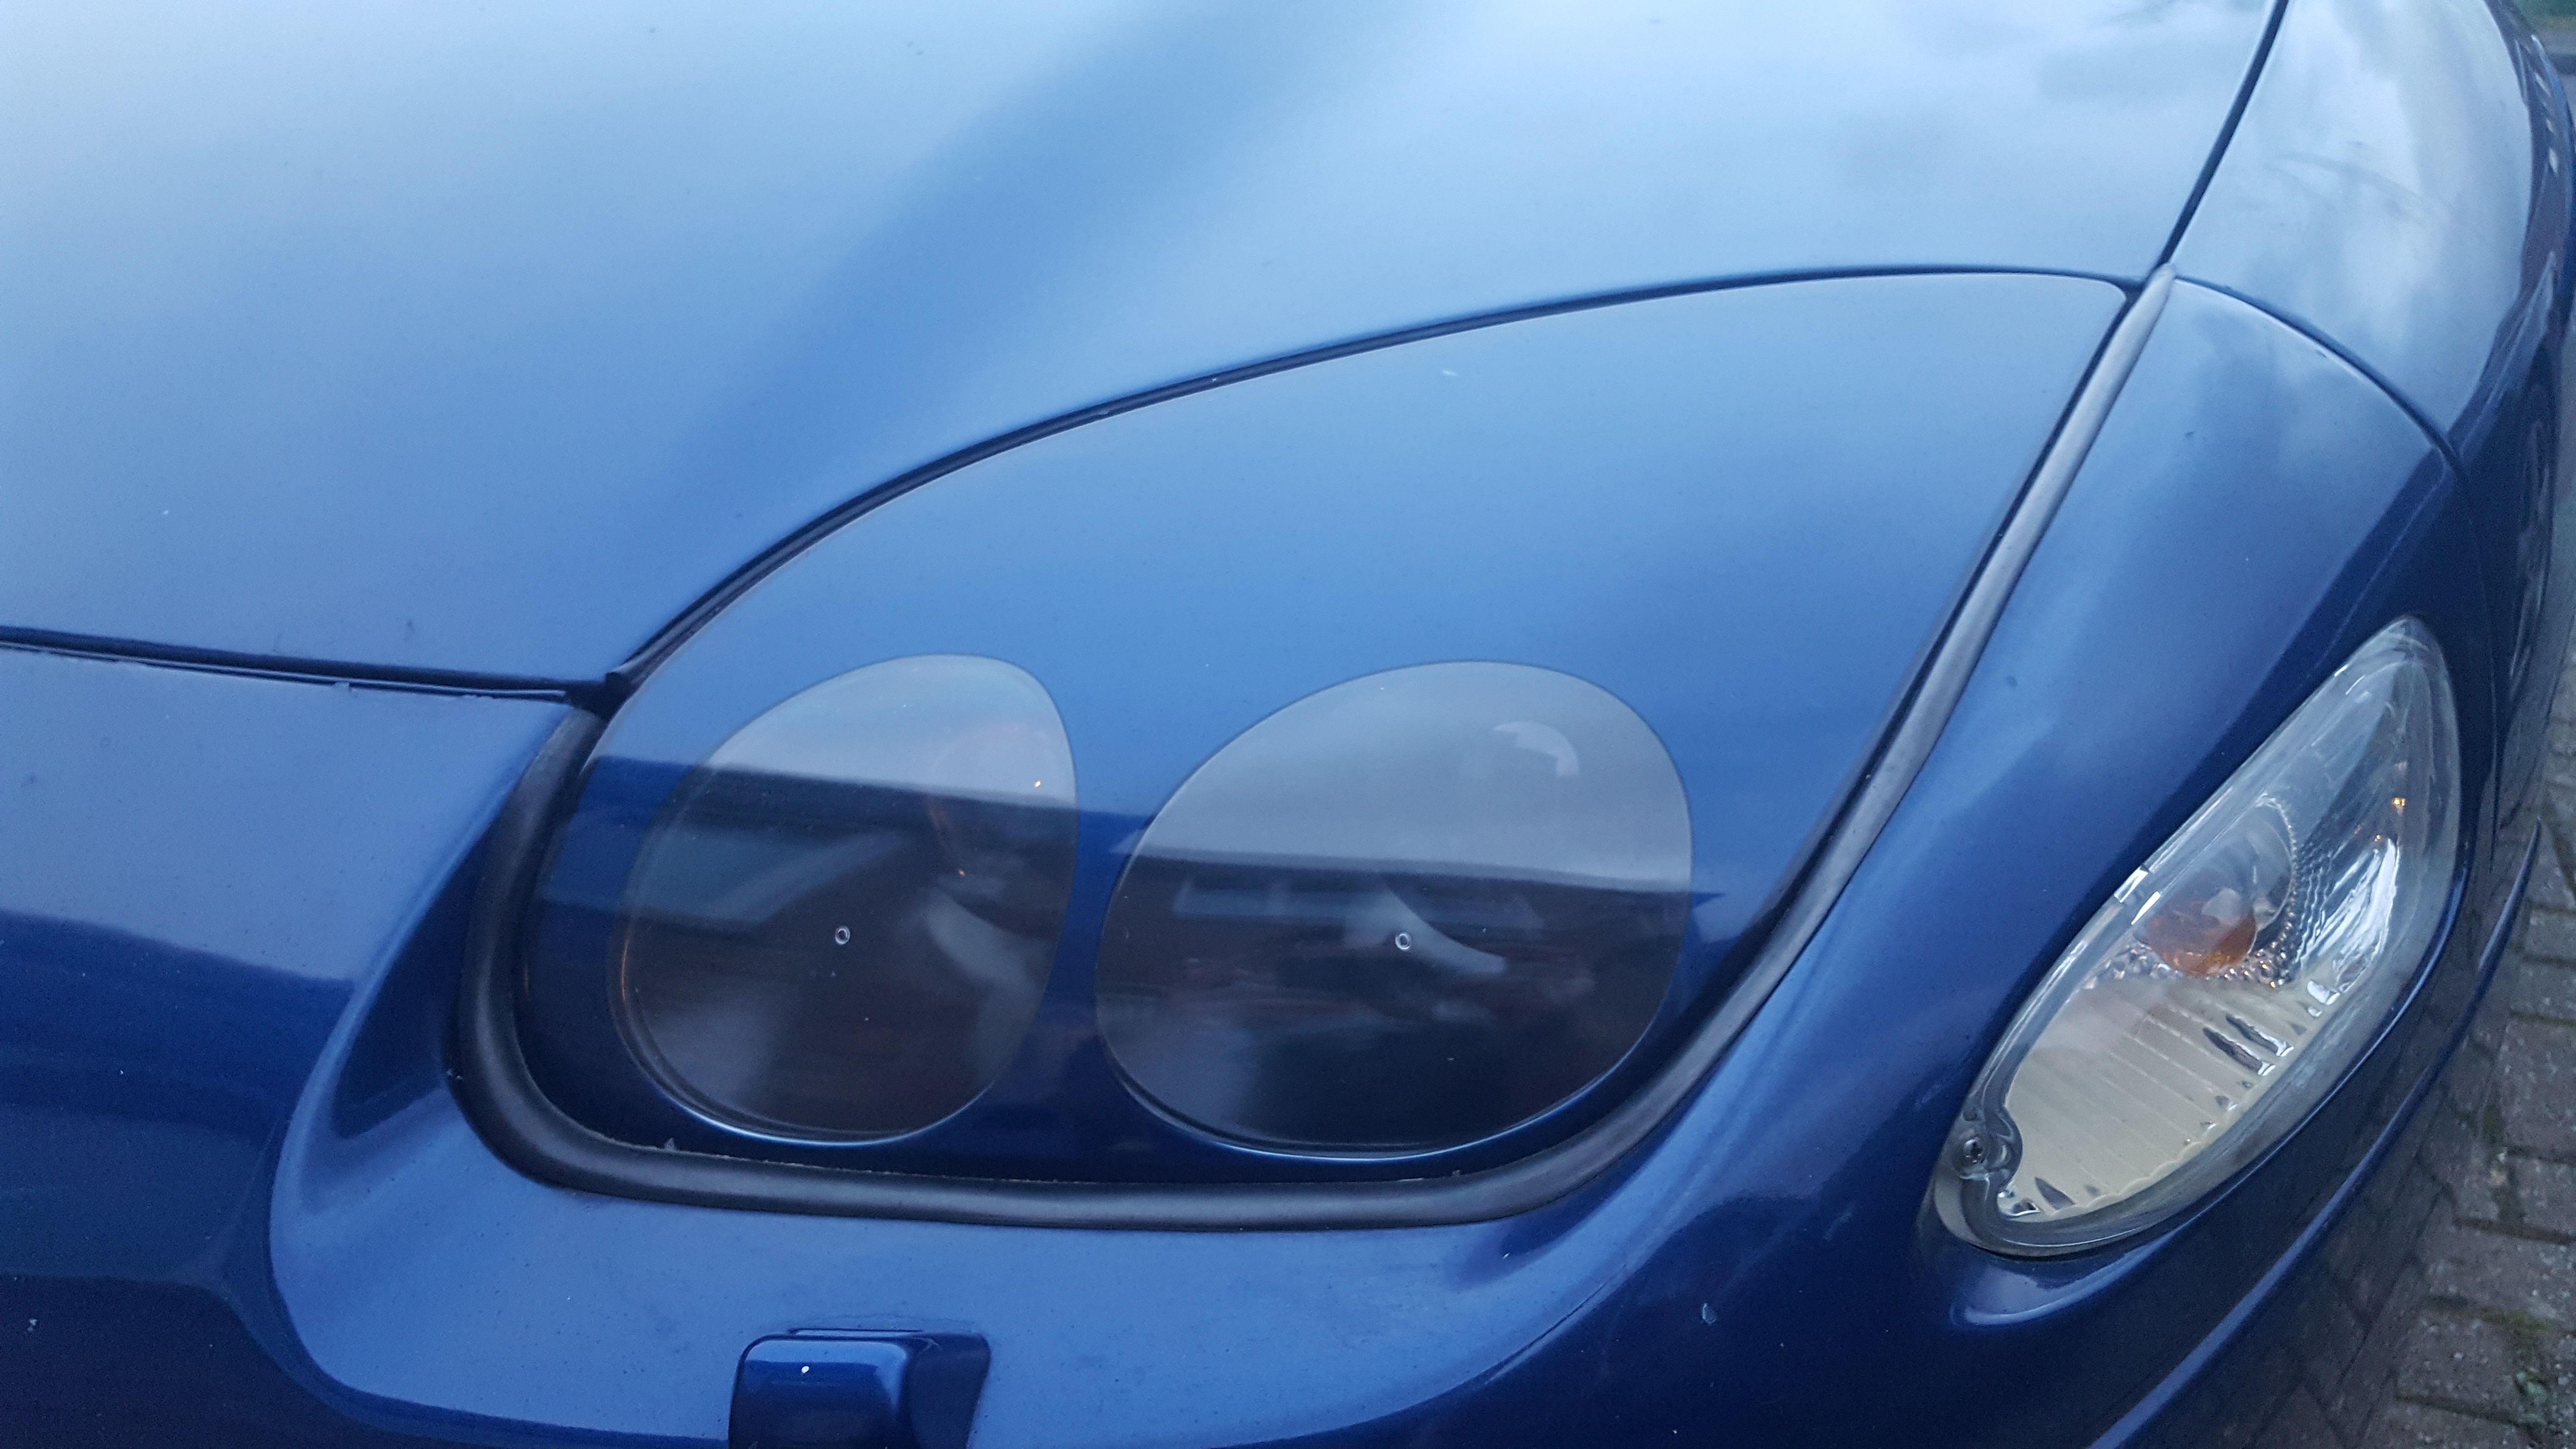
The meguiers headlight polishing kit has worked well on stuff in the past for me, but not tried it on the GTs lights yet
font wheel bearing is pretty straight forward compared to the rears . rob does the replacements .they are different fit than oe ones but still easy enough to do . got a fair list their for a car that price tho .you aways end up spending cash on these cars anyway to get them the way you want .
The thing to remember is with that kit is to keep the dust to a minimum otherwise the sanding pads get eaten up quickly.
Tip, Even thought the instructions say to use the first lot of sanding pads dry I in the end I used a spray bottle on all the sanding pads as the pads lasted longer and it was easier to work on.
Good tip, I’ve got a half decent drill with side handle… Only they aren’t as peely as the before shots. Still I’d do the same if it has good results. I was looking at various kits wondering what the best one would be, and did actually look at this one
I’d be doing it too some 99 lights, so I’m also wondering if the raised bubble part of the lights will be a bit tricky with the drill, not being flat and all
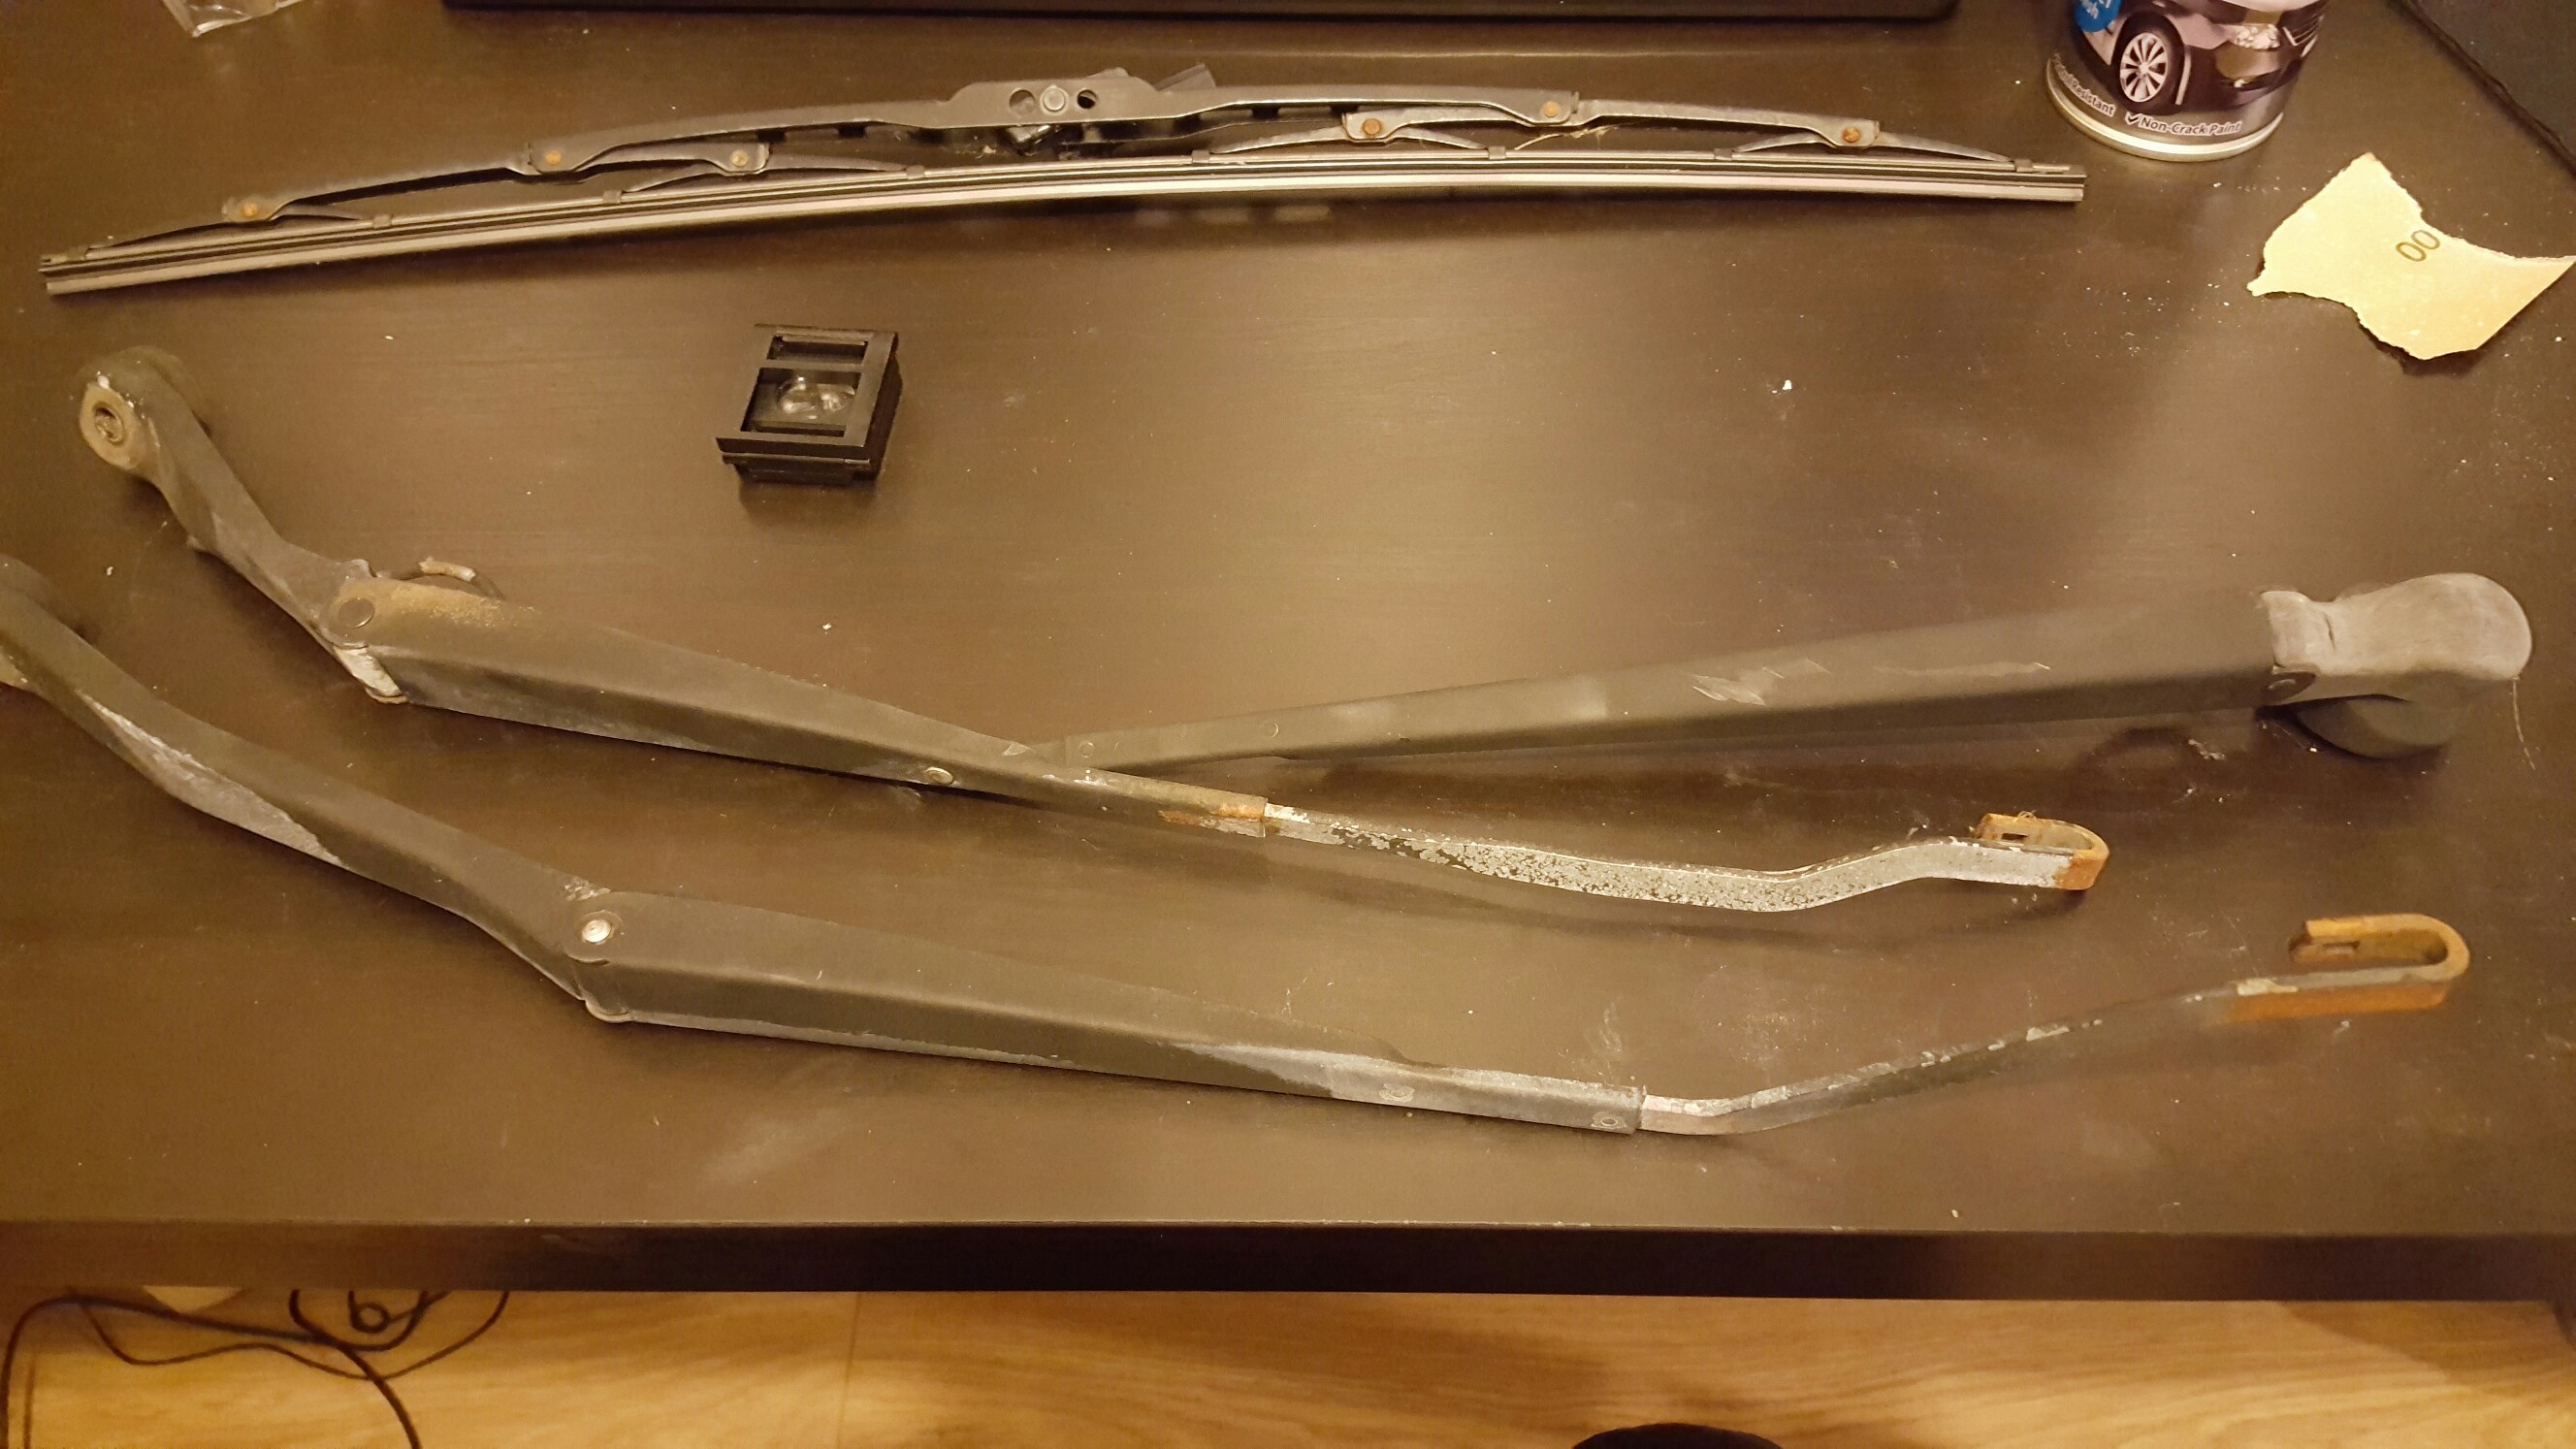
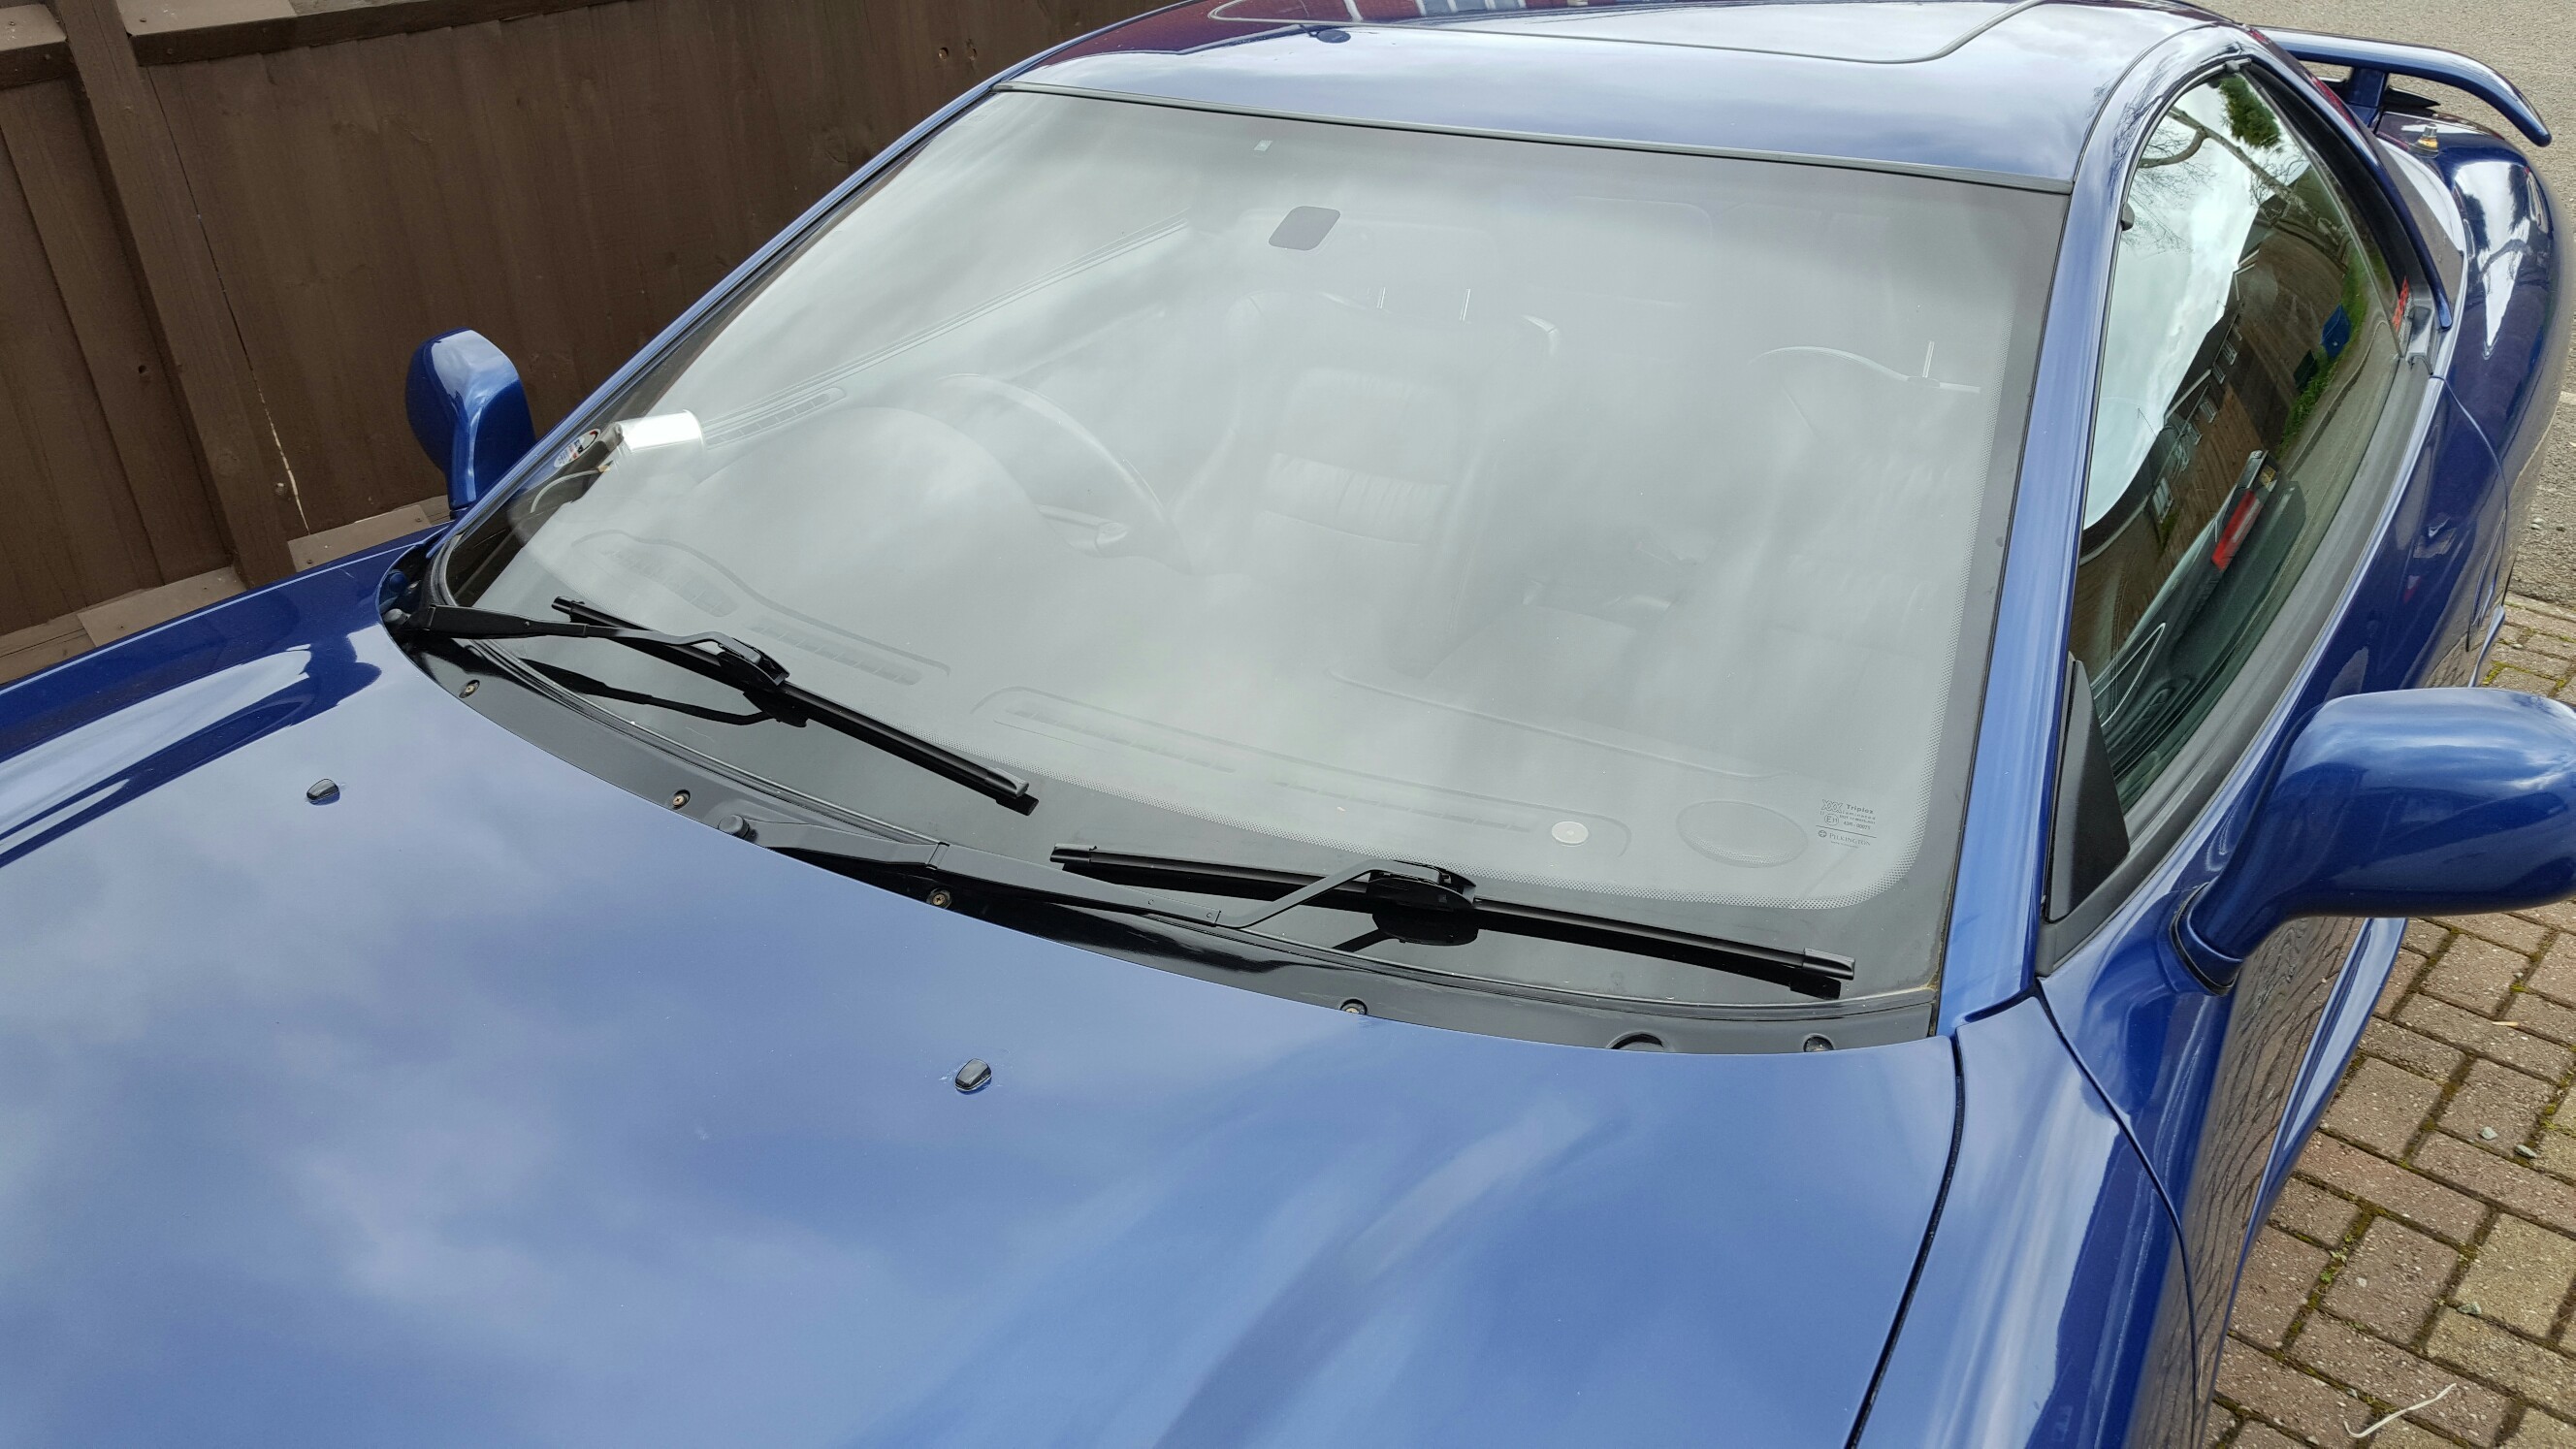
Respray wipers. Done
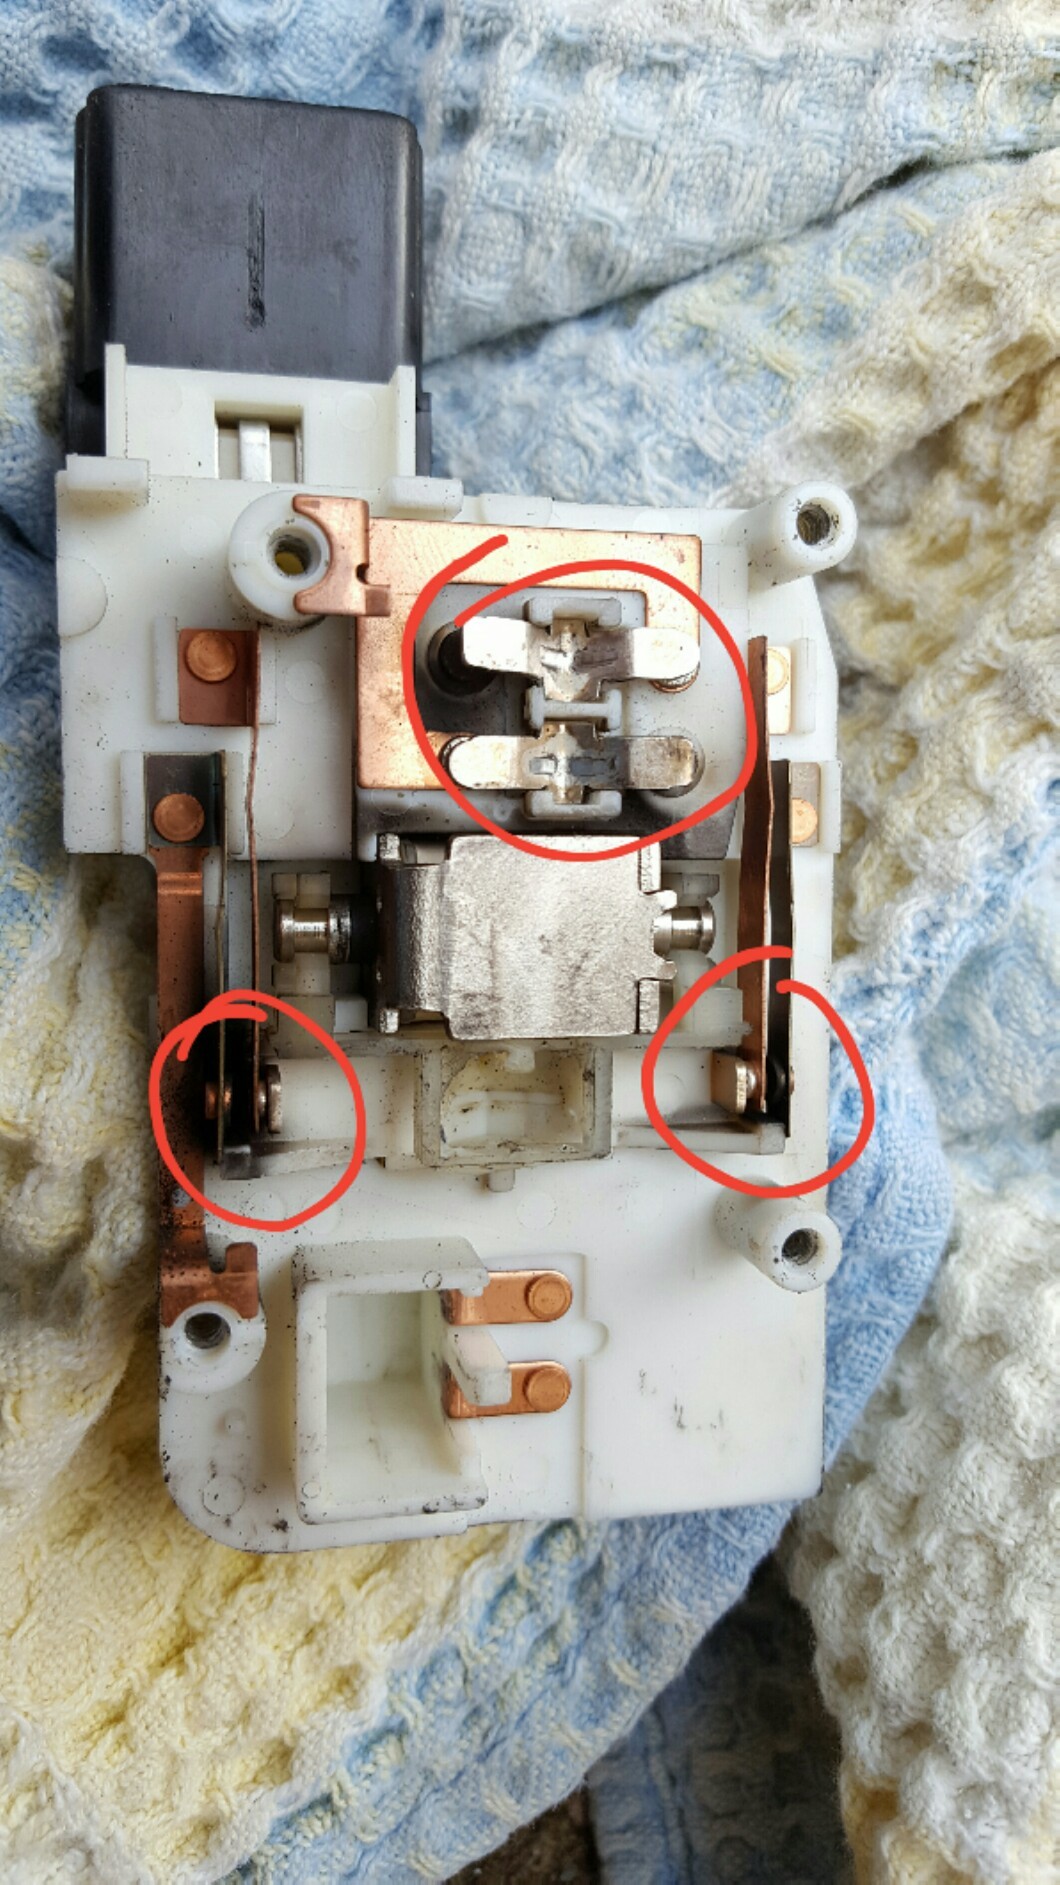
Fix driver’s window button. Done
Fix driver’s wing mirror
Repair interior lights. Done
Remove chave led’s. Done
Restore fuse’s. Done
Clean engine
Fix active aero. Done
Fix suspension sport flashing
Fix window screen blower . Done
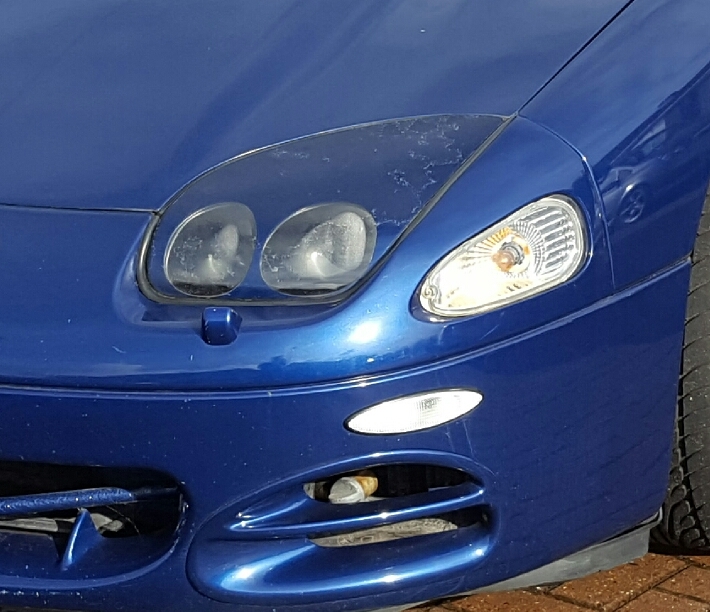
Replace front indicators
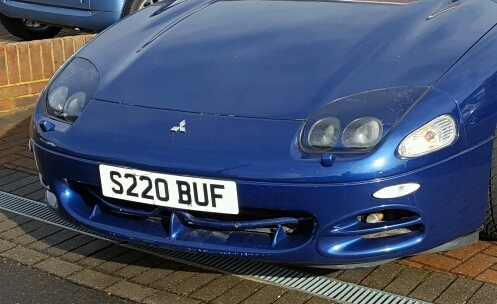
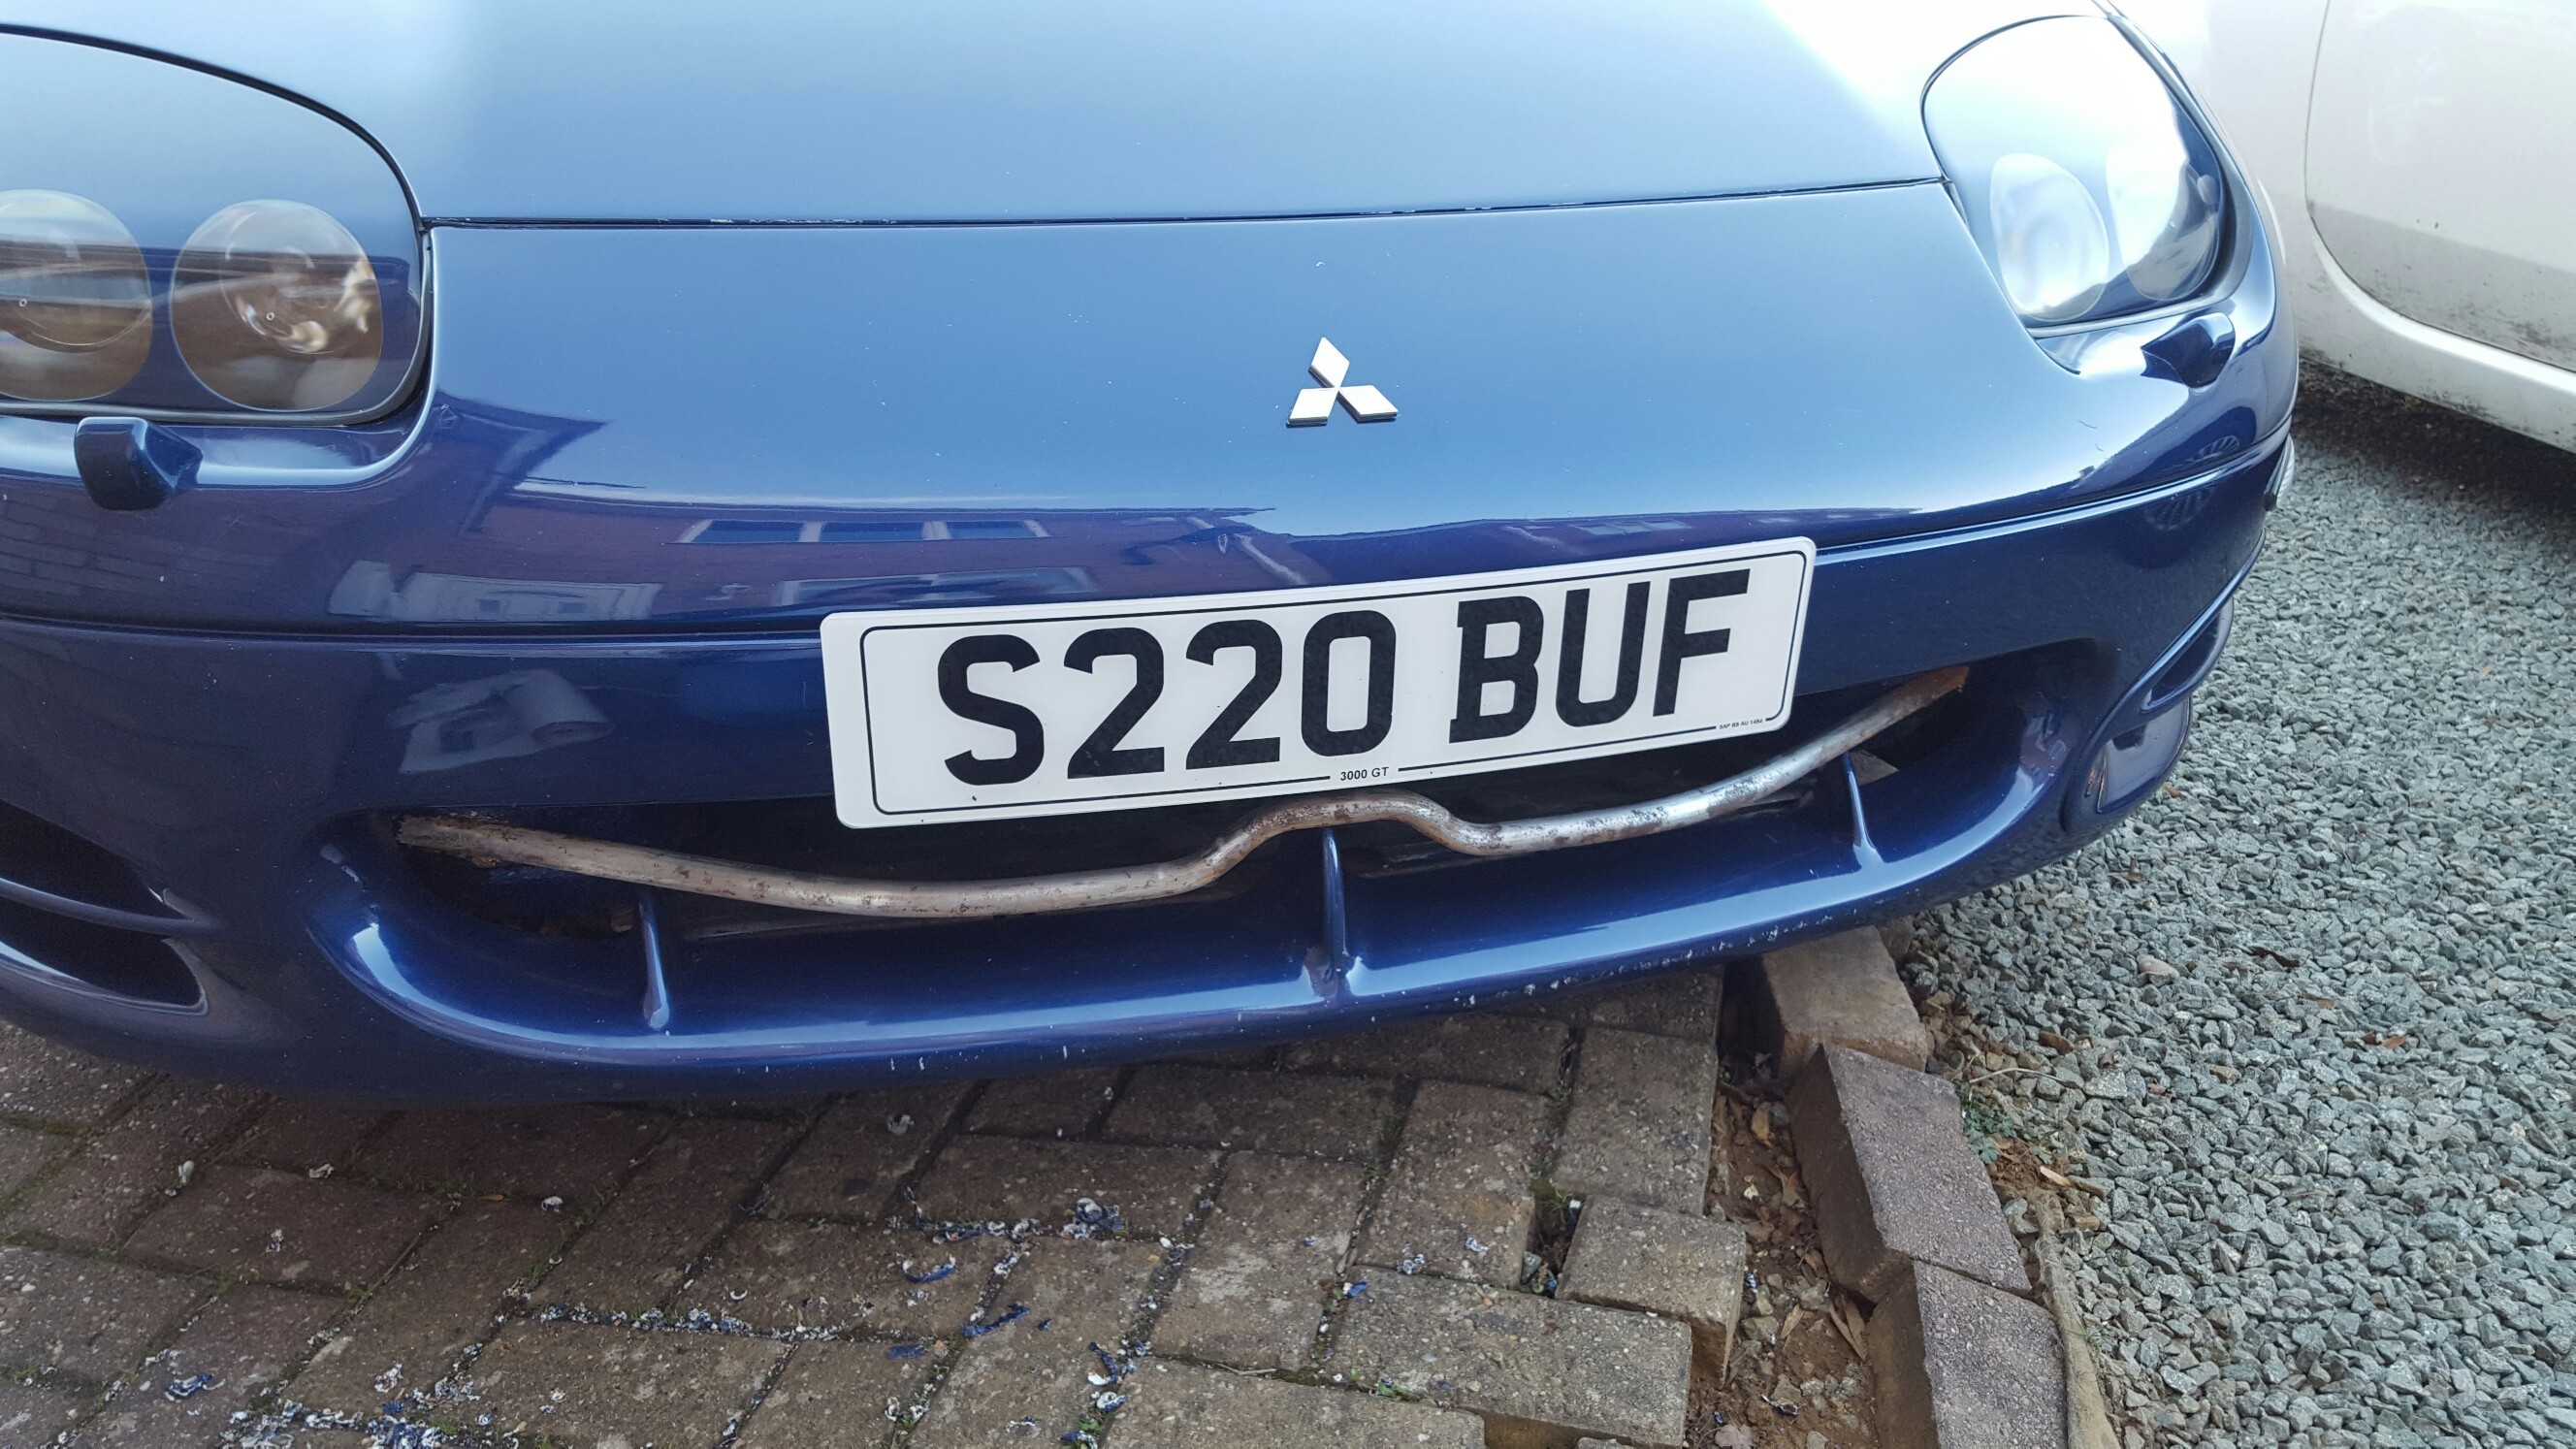
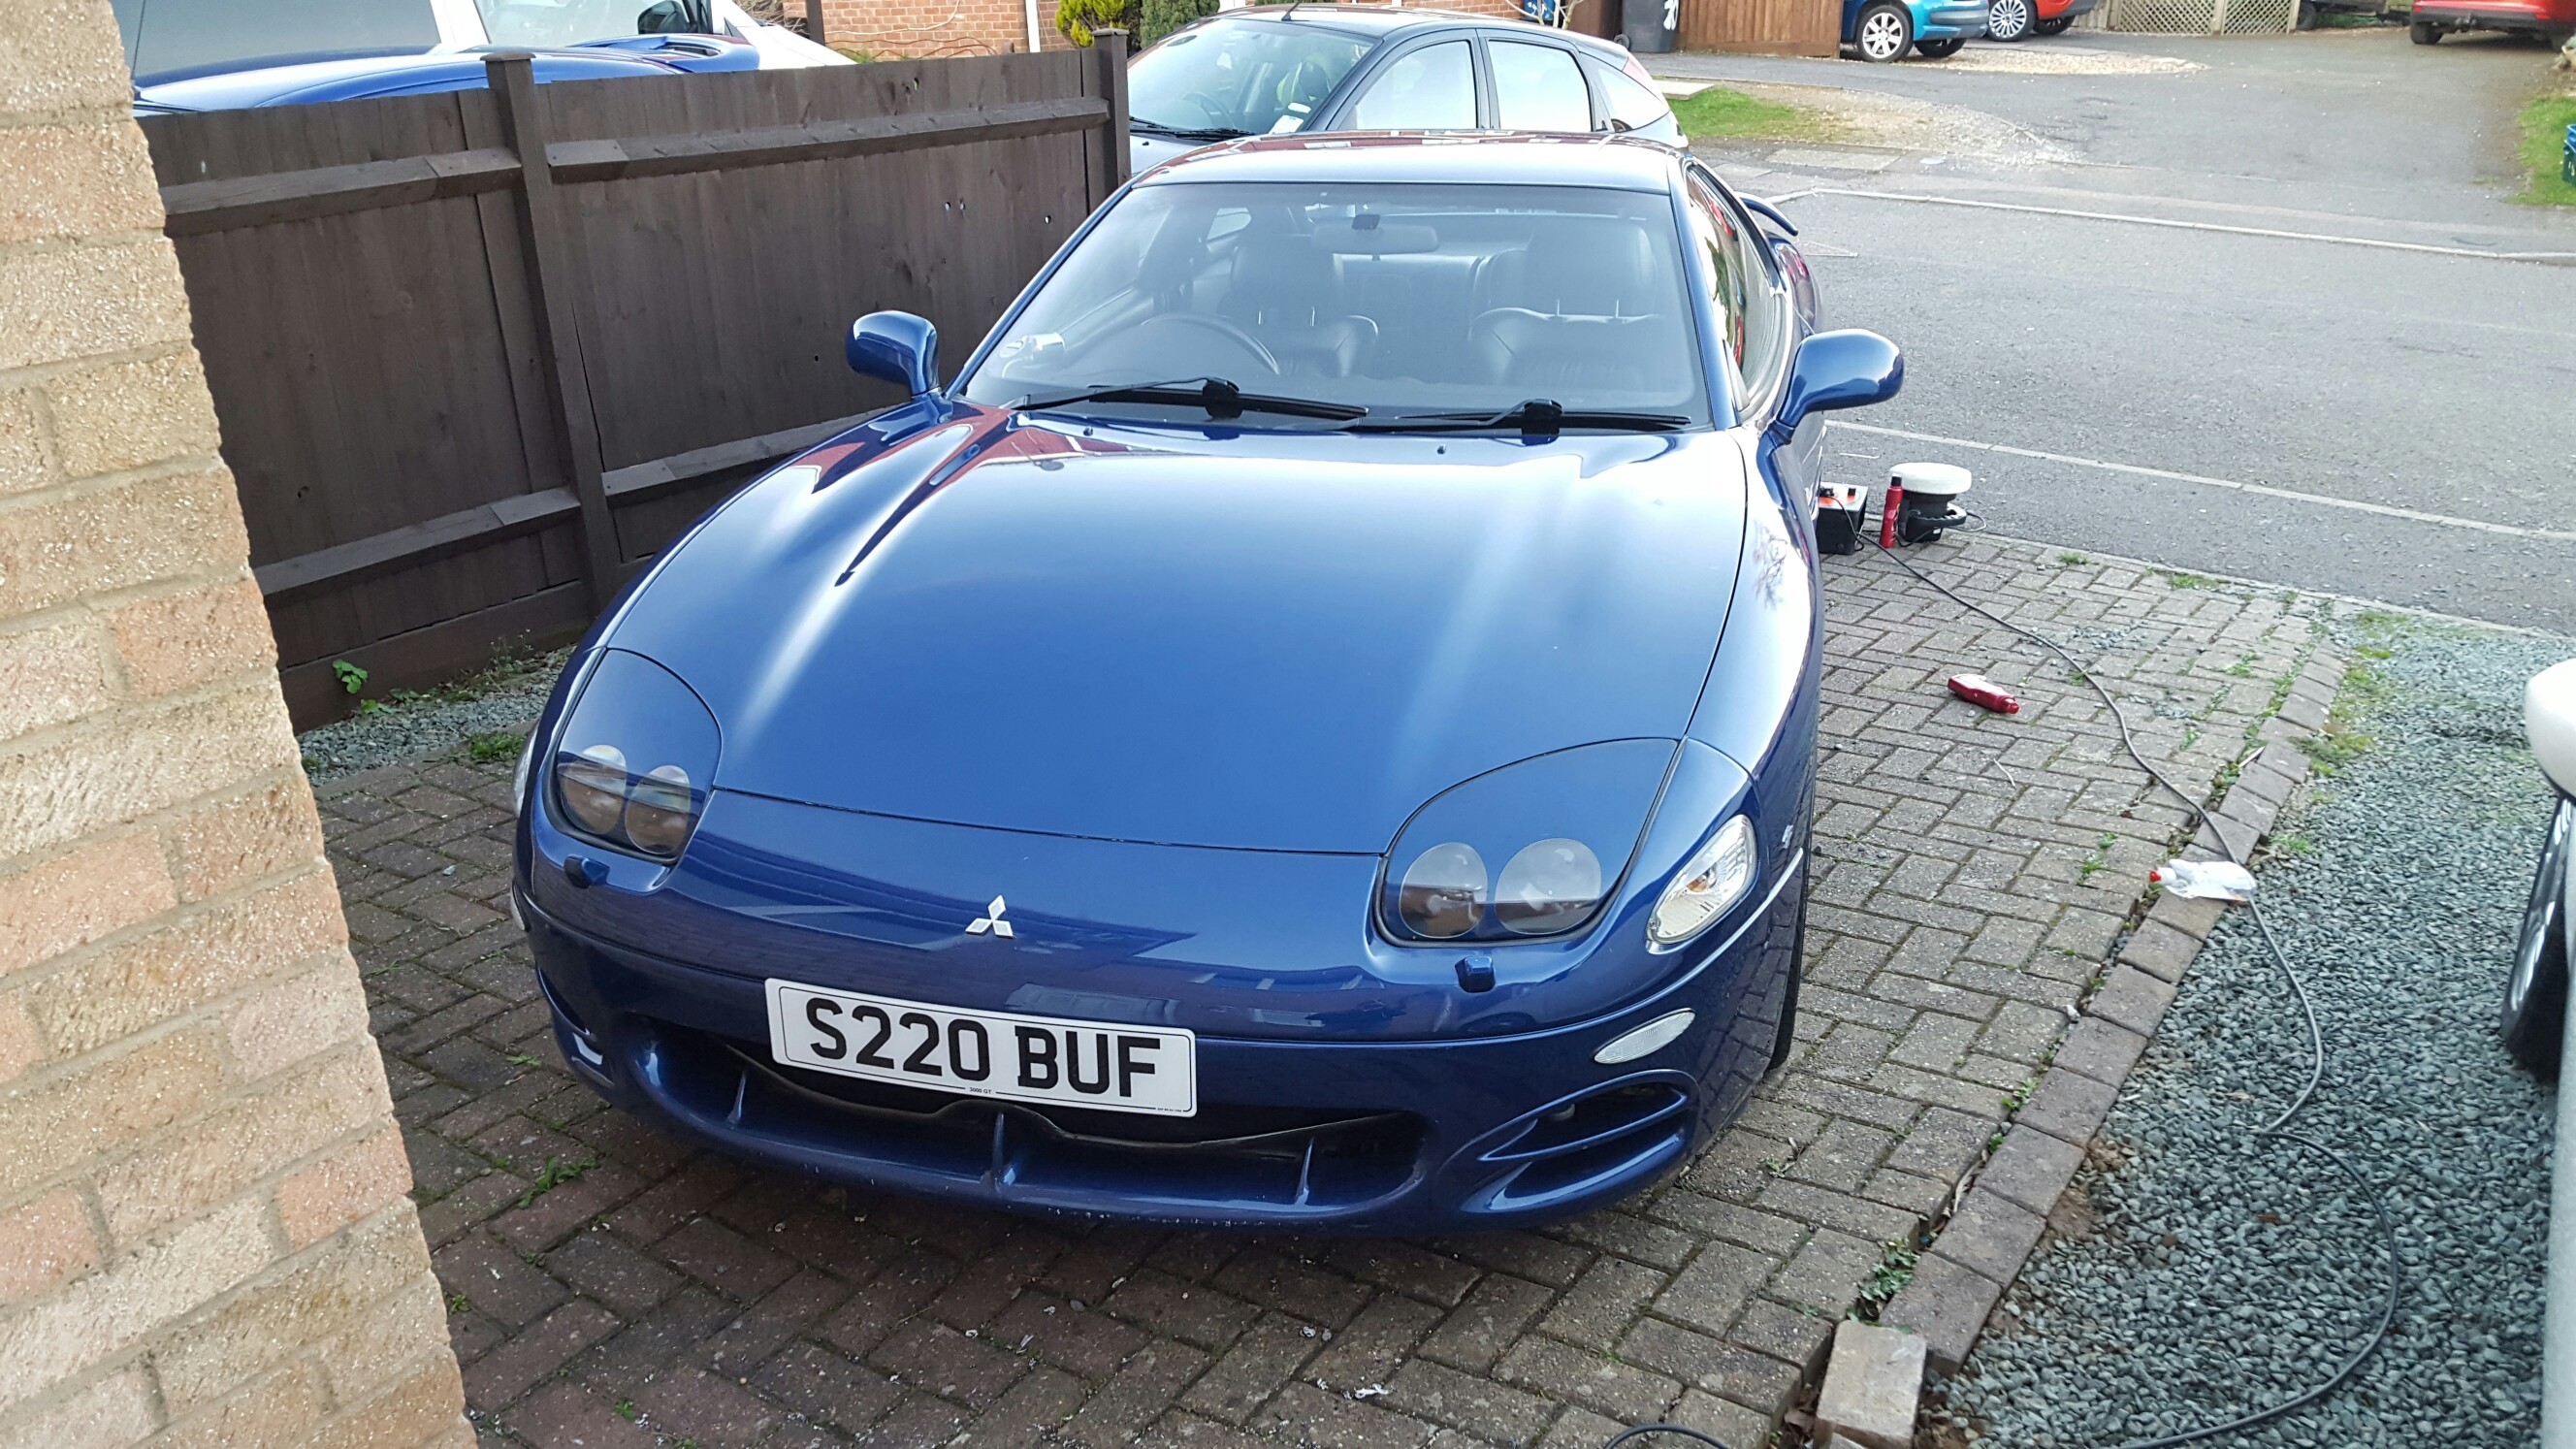
Replace front number plate. Done
Rewire stereo. Done
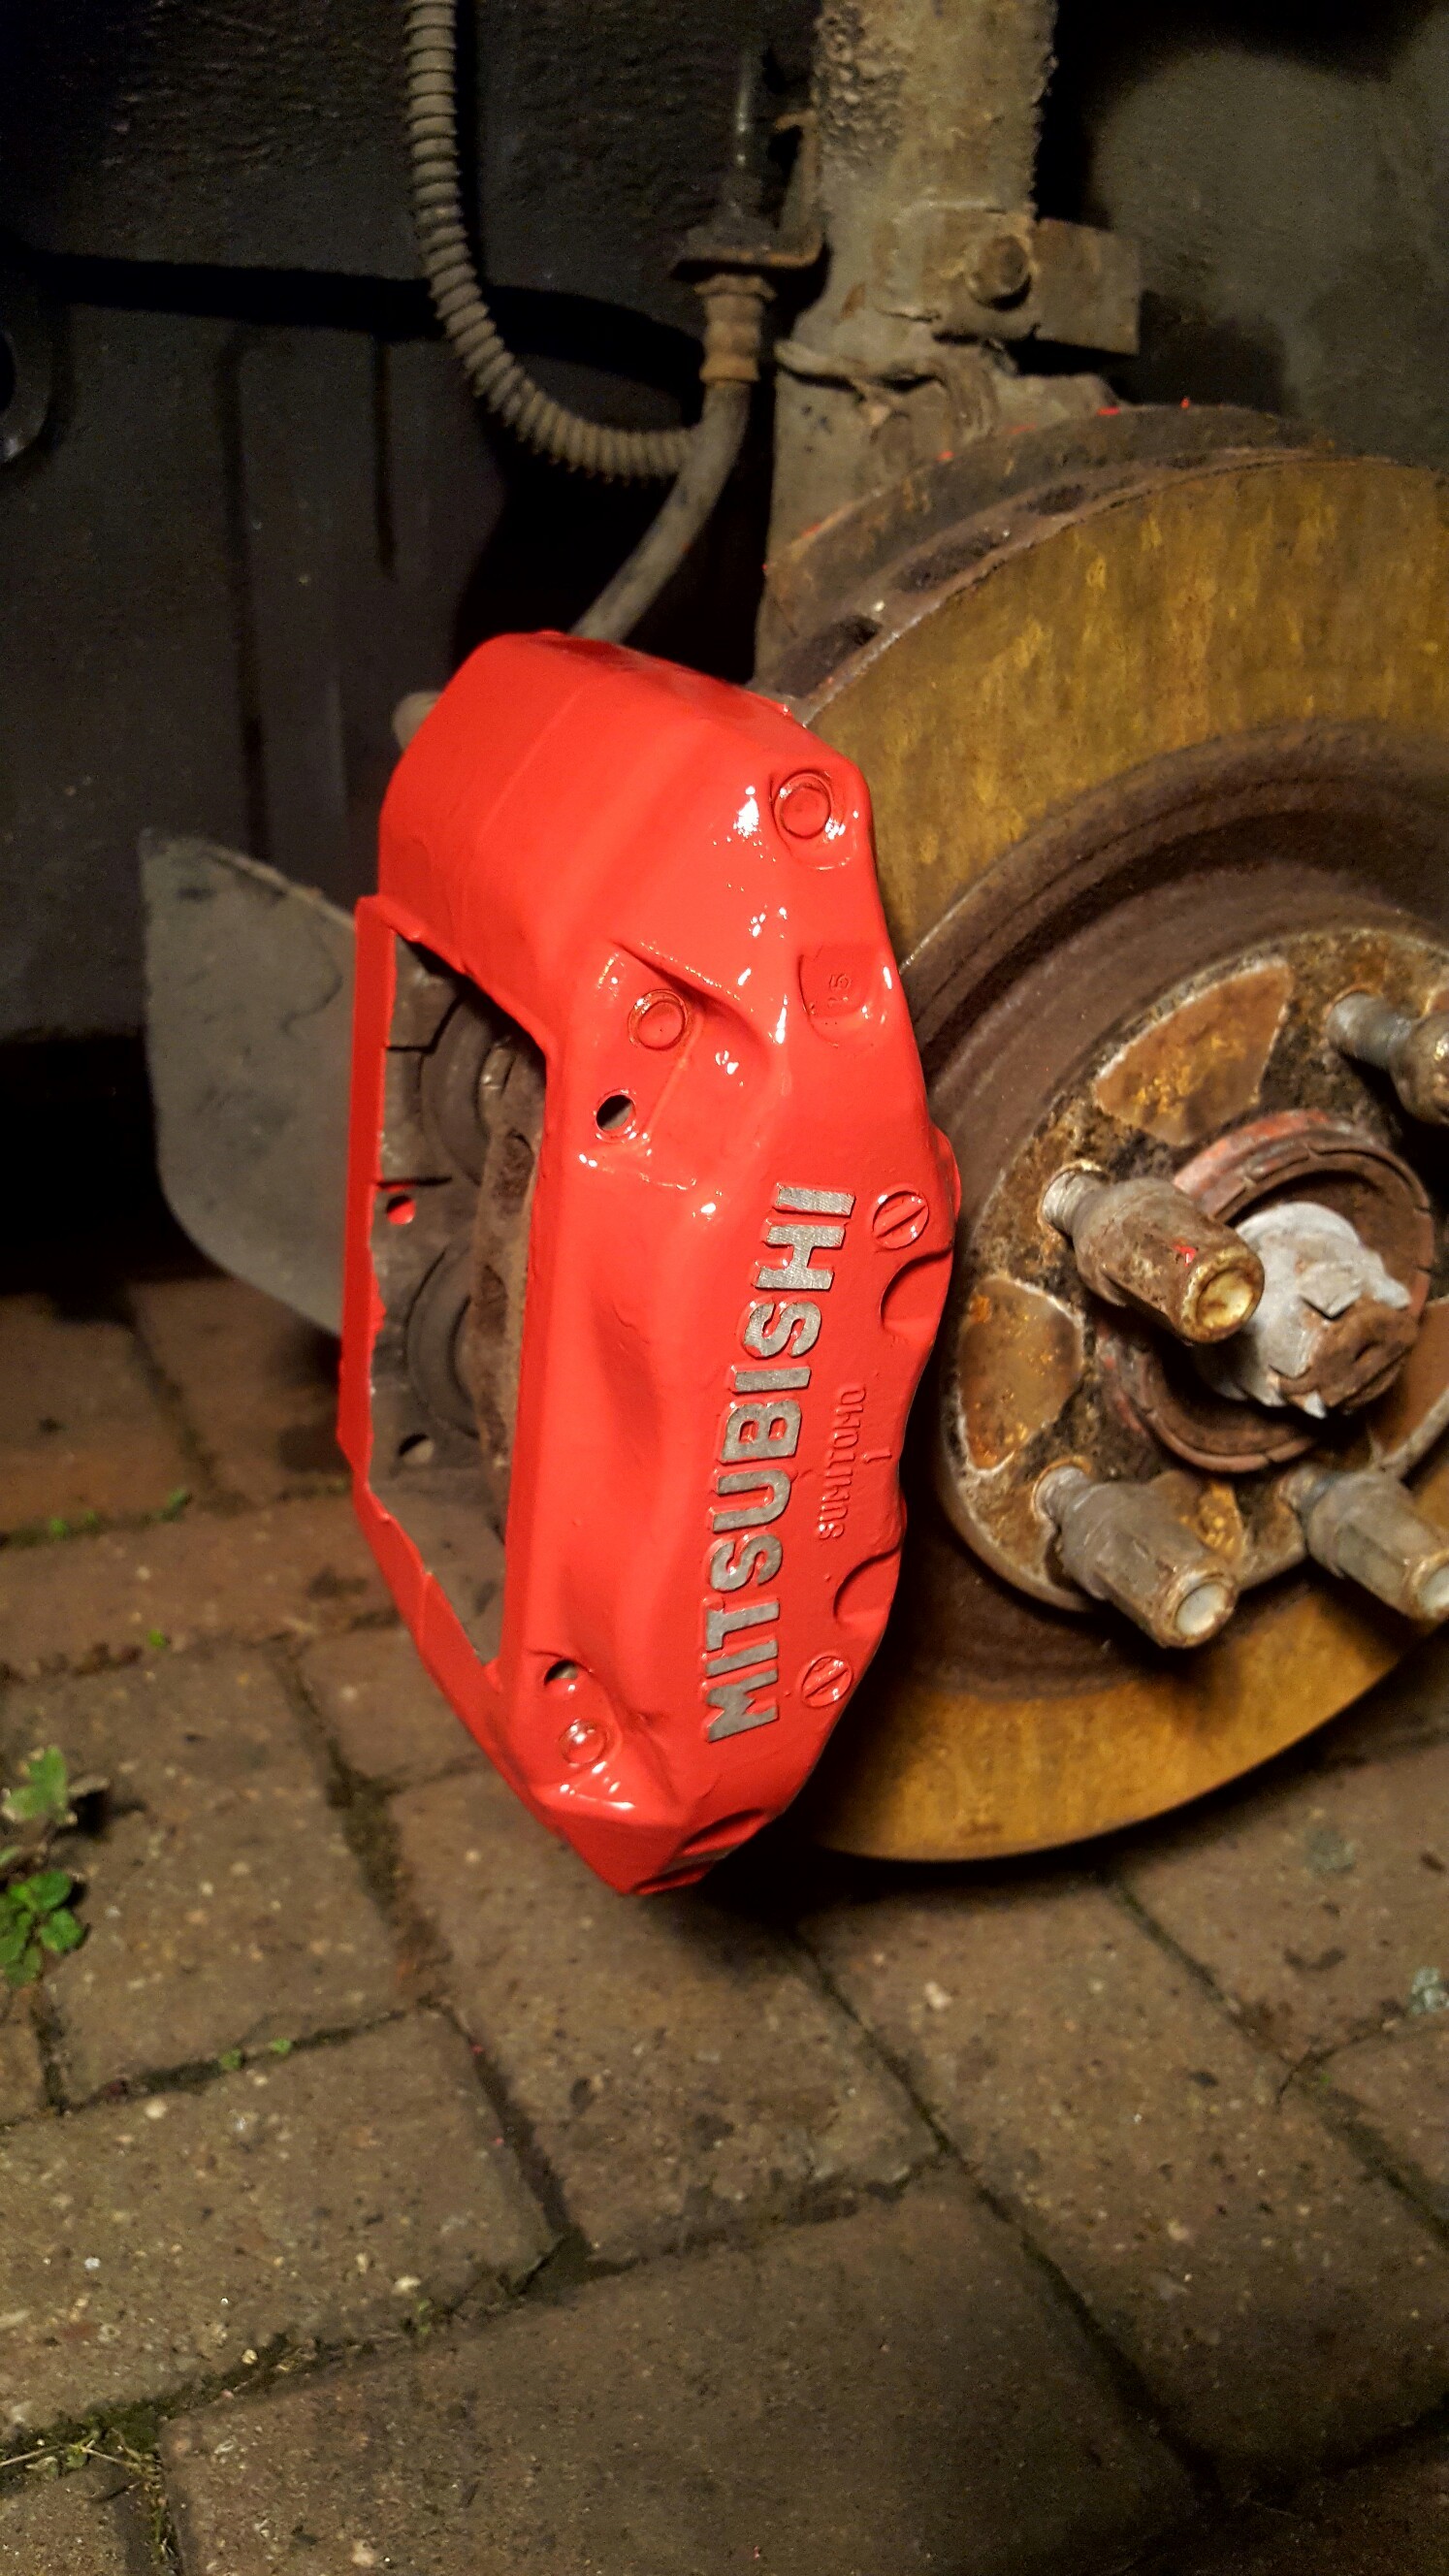
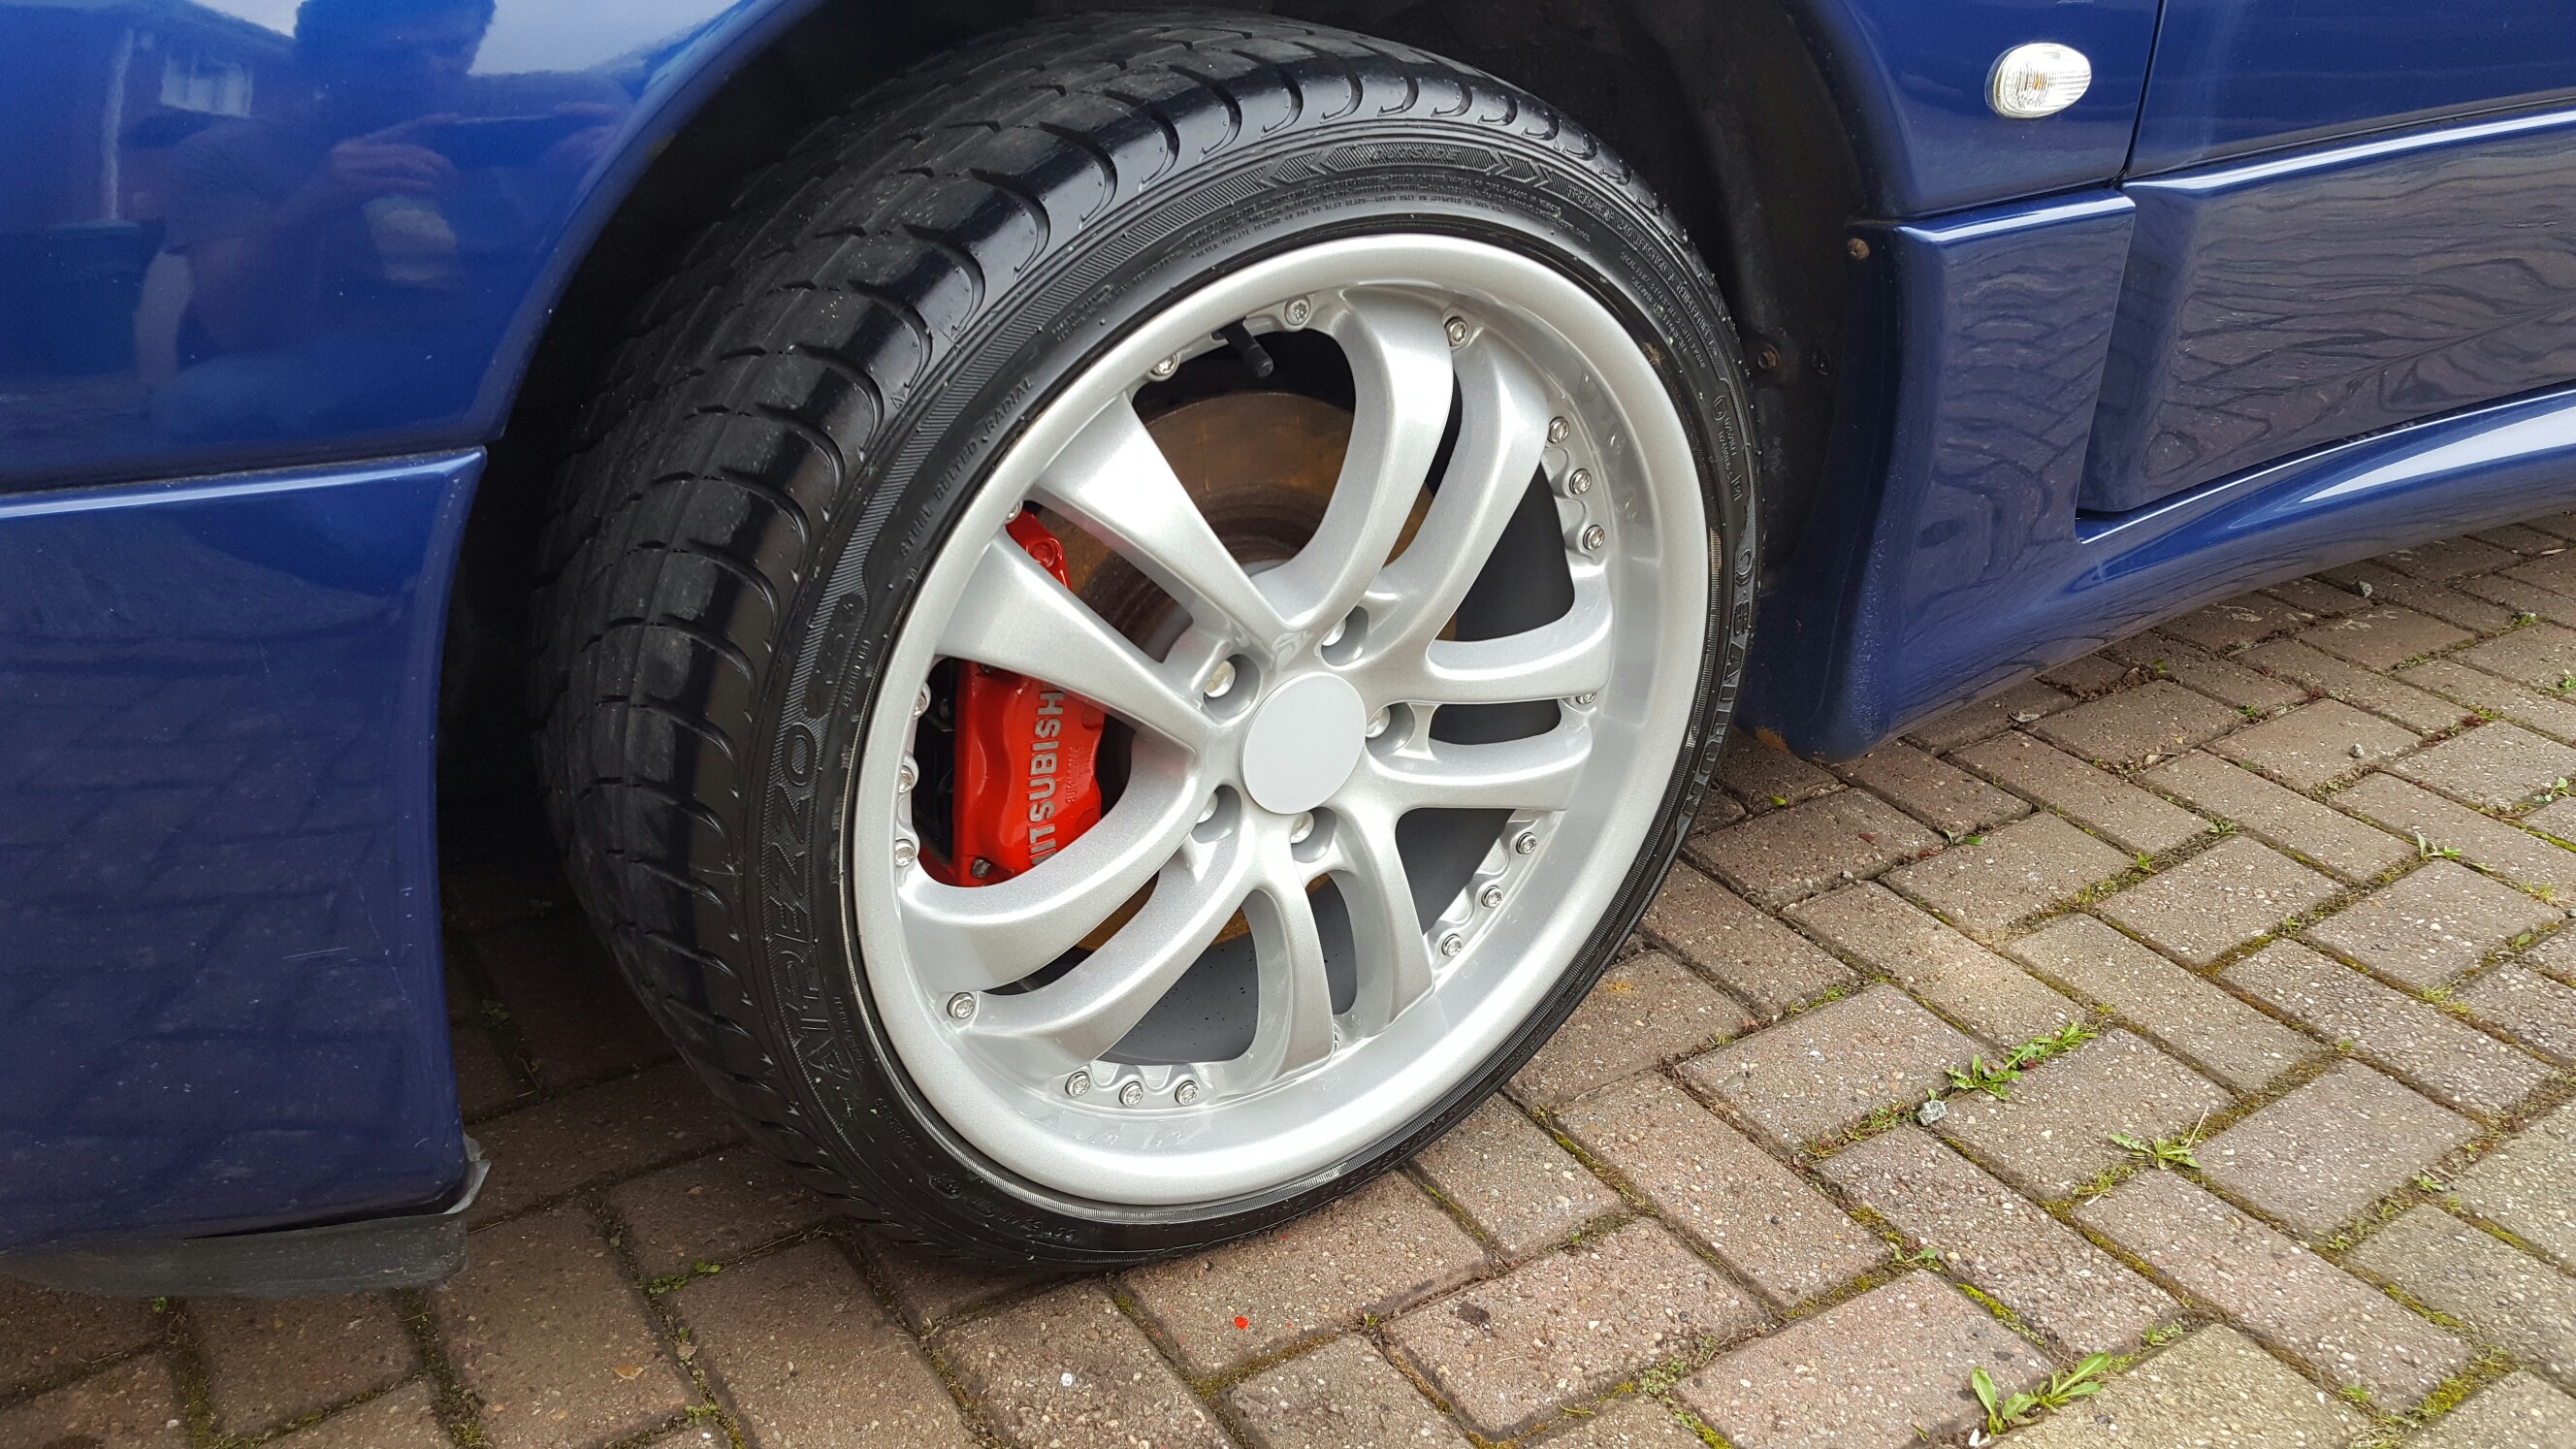
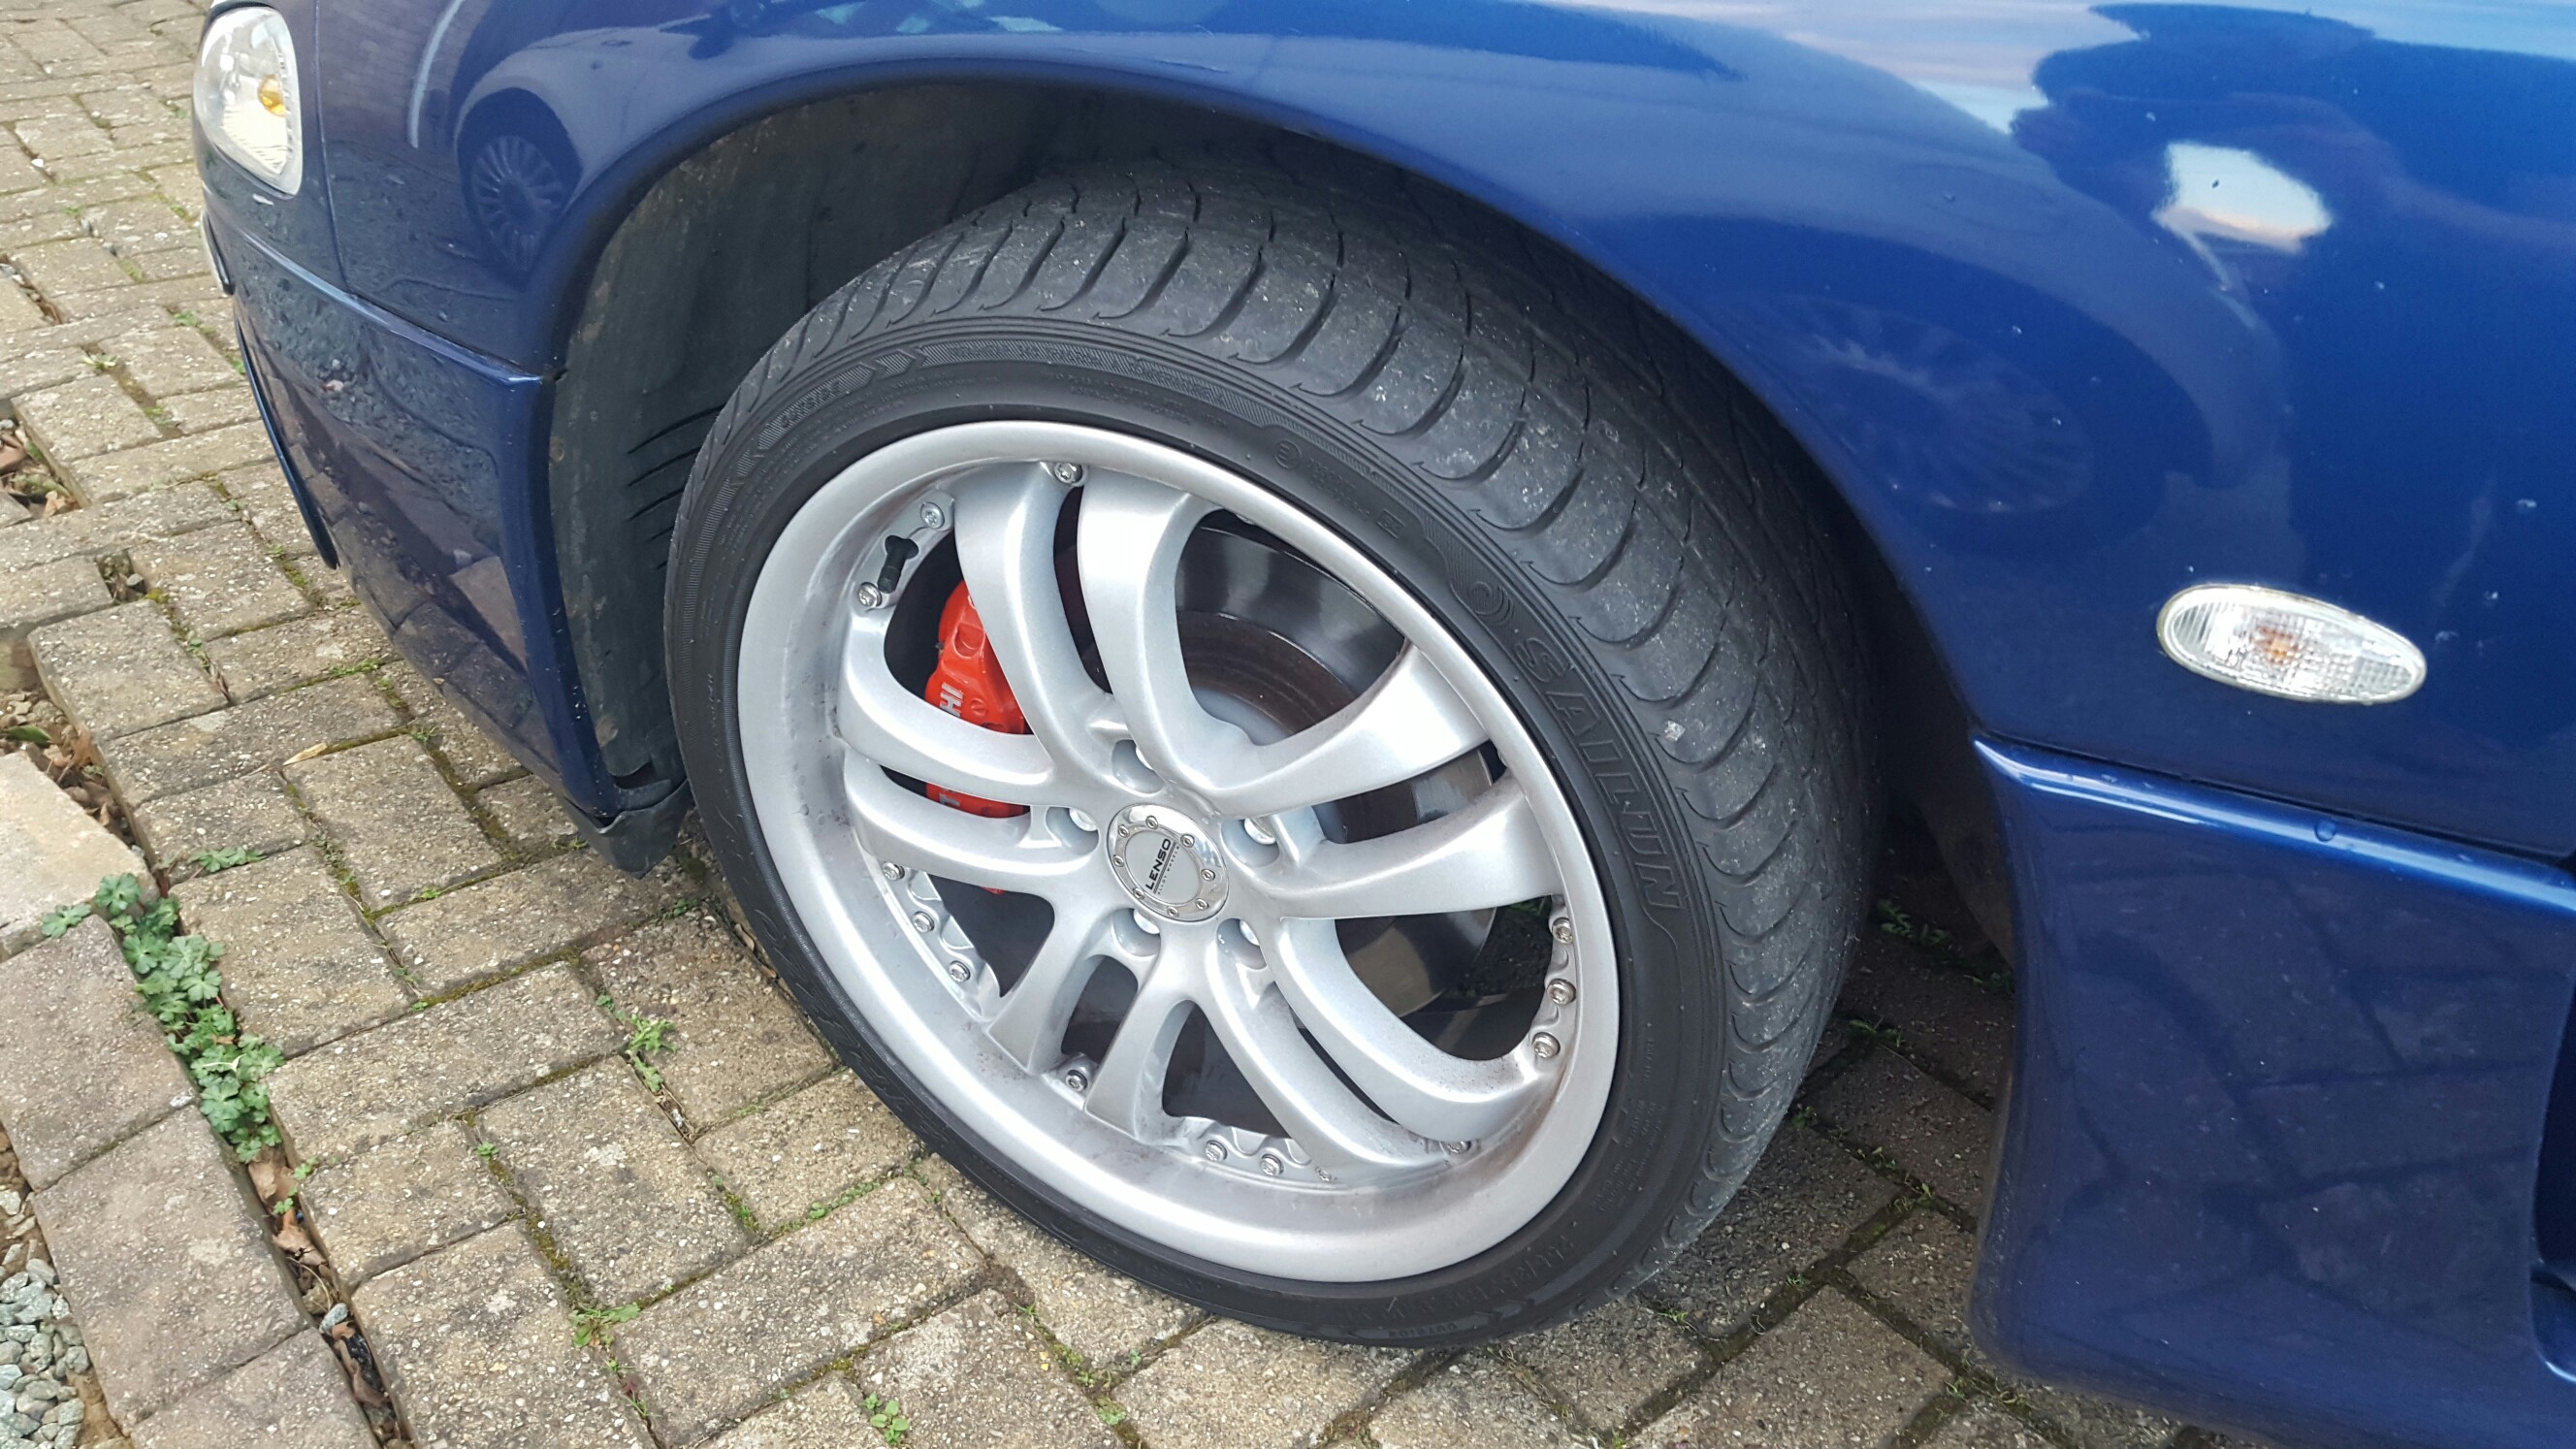
Repaint calipers. Done
Place Mitsubishi logo incorrect position. Done
All wheel nuts replaced. Done
Slightly Harder fix’s can do myself
Restore head lights. Done
New brake pads
New disks
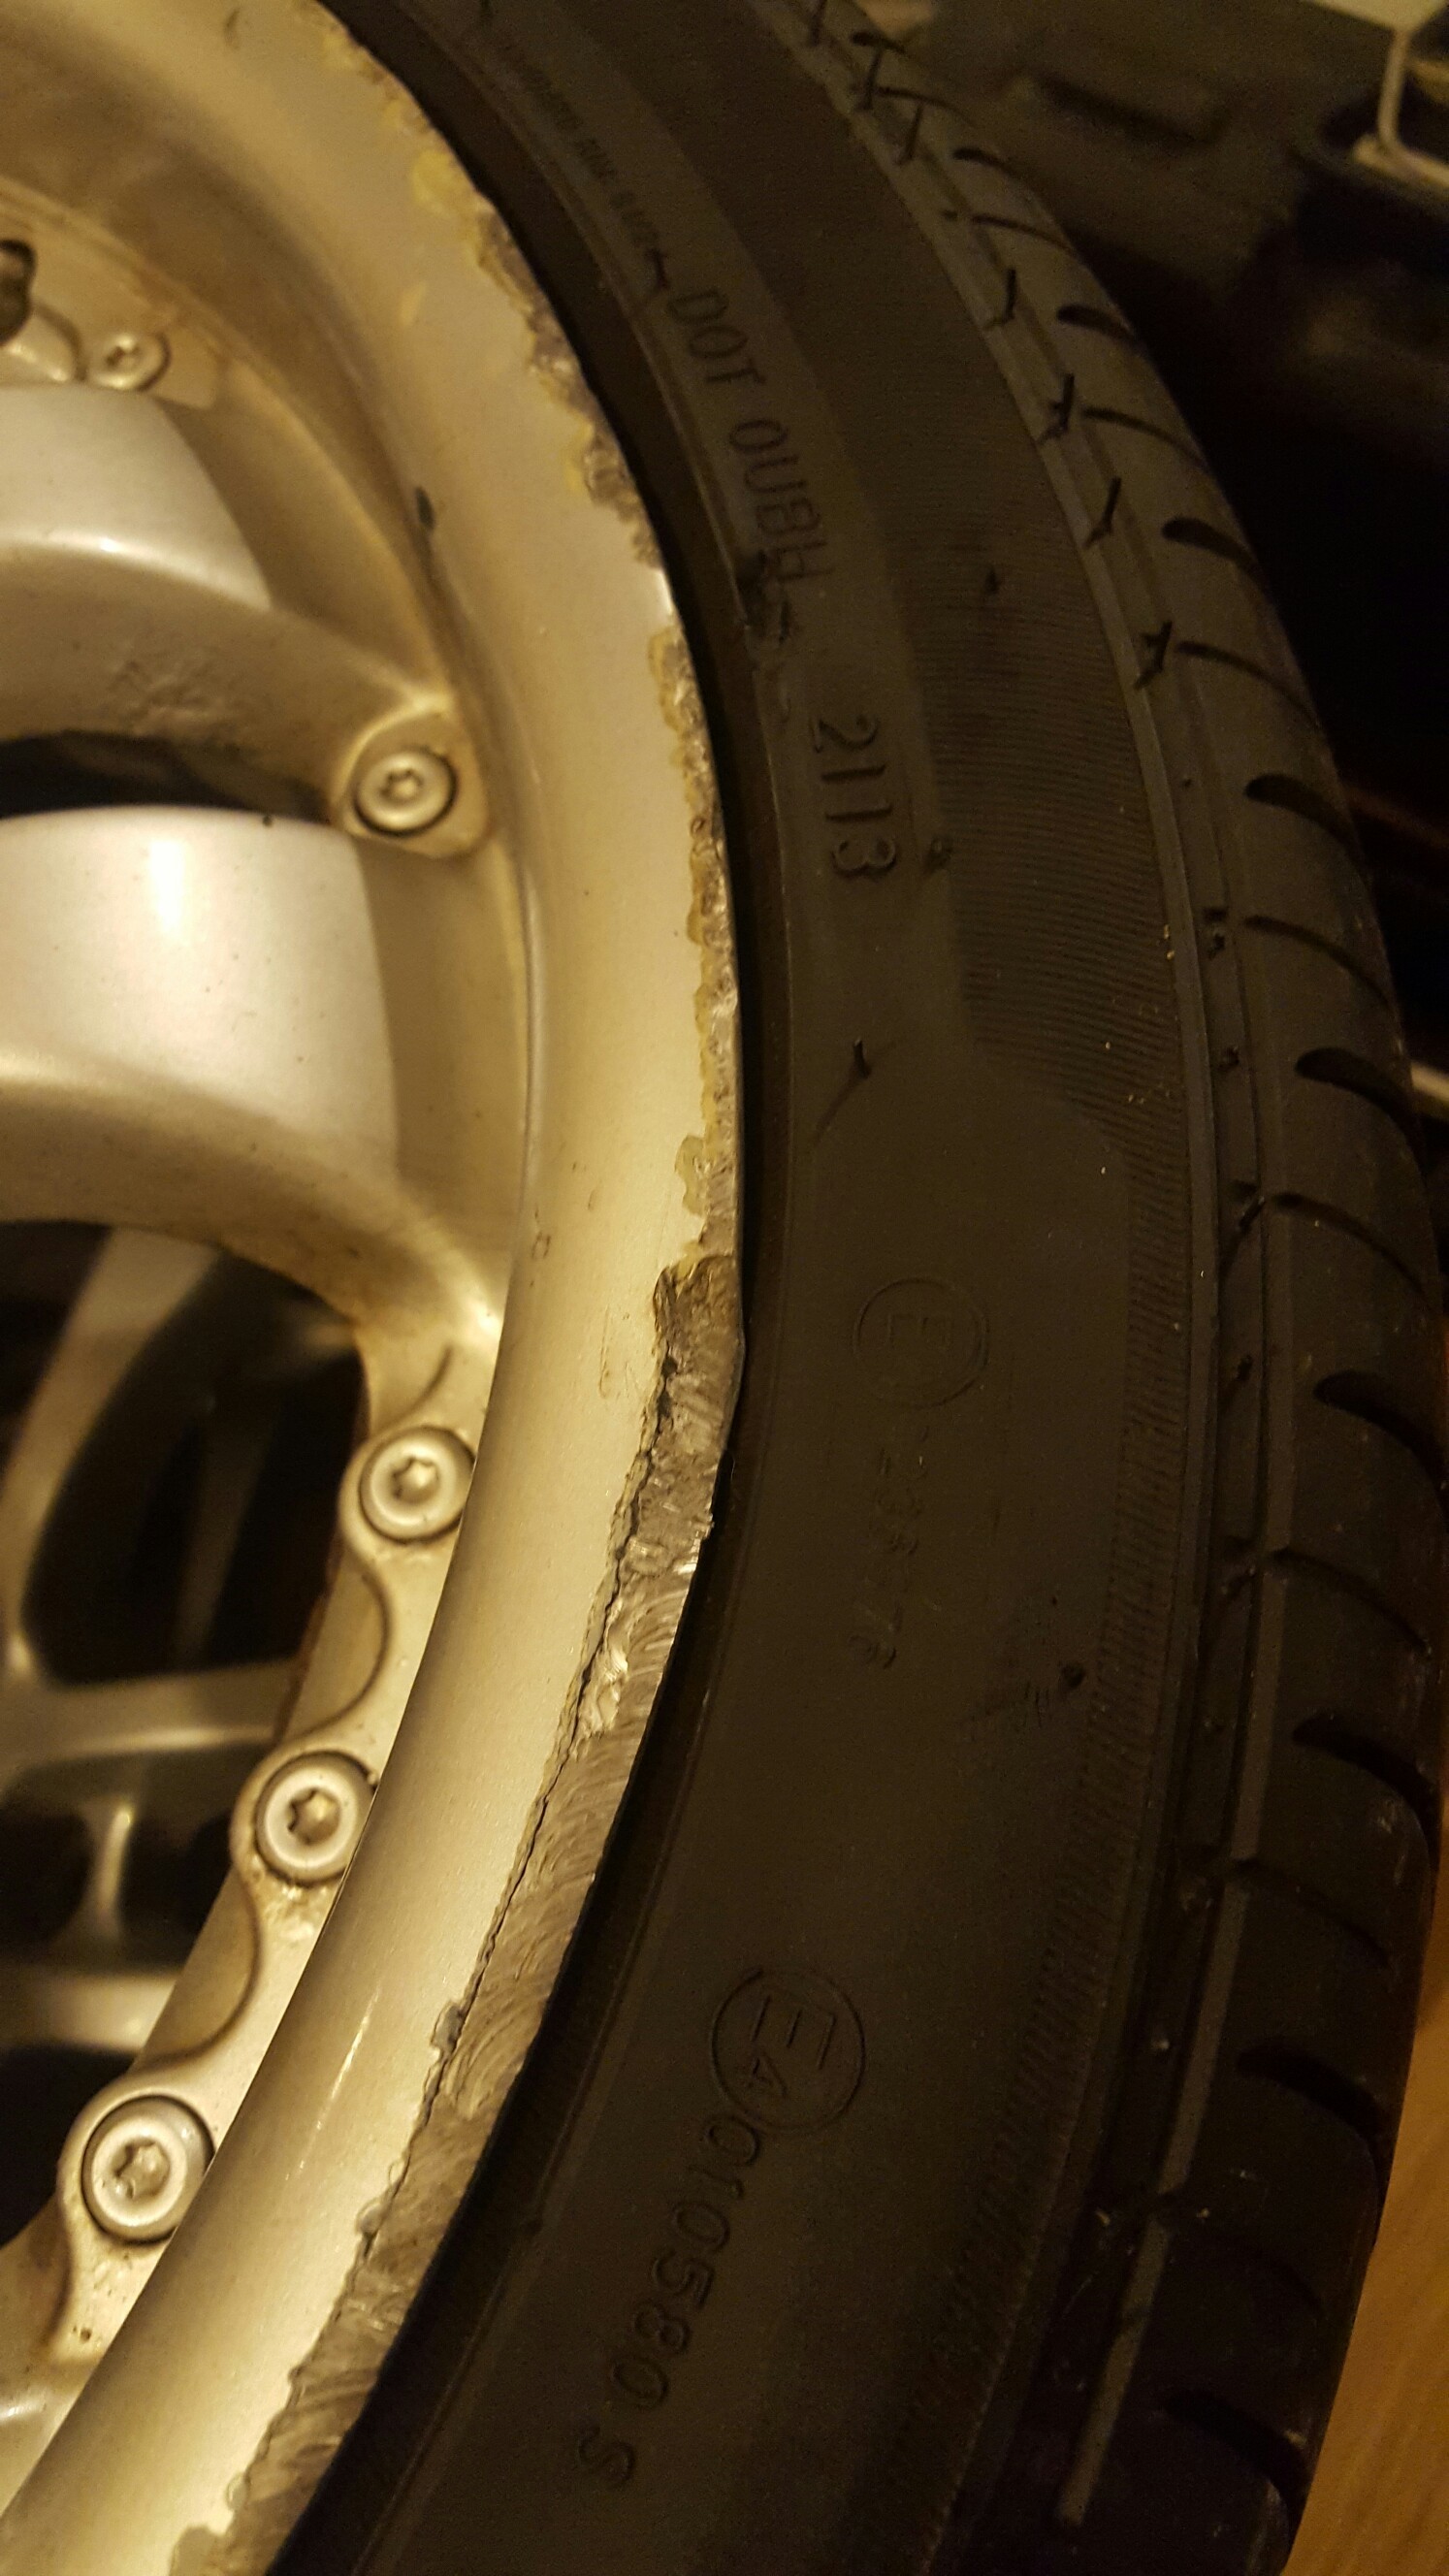
Wheel Bering/hub. Done
Hard fix’s
Respray roof
Remove car park dents x2. Done but need finishing
Front bumper… repair badly filled in logo or replace bumper
Remove/restore crash bar back to black. Done
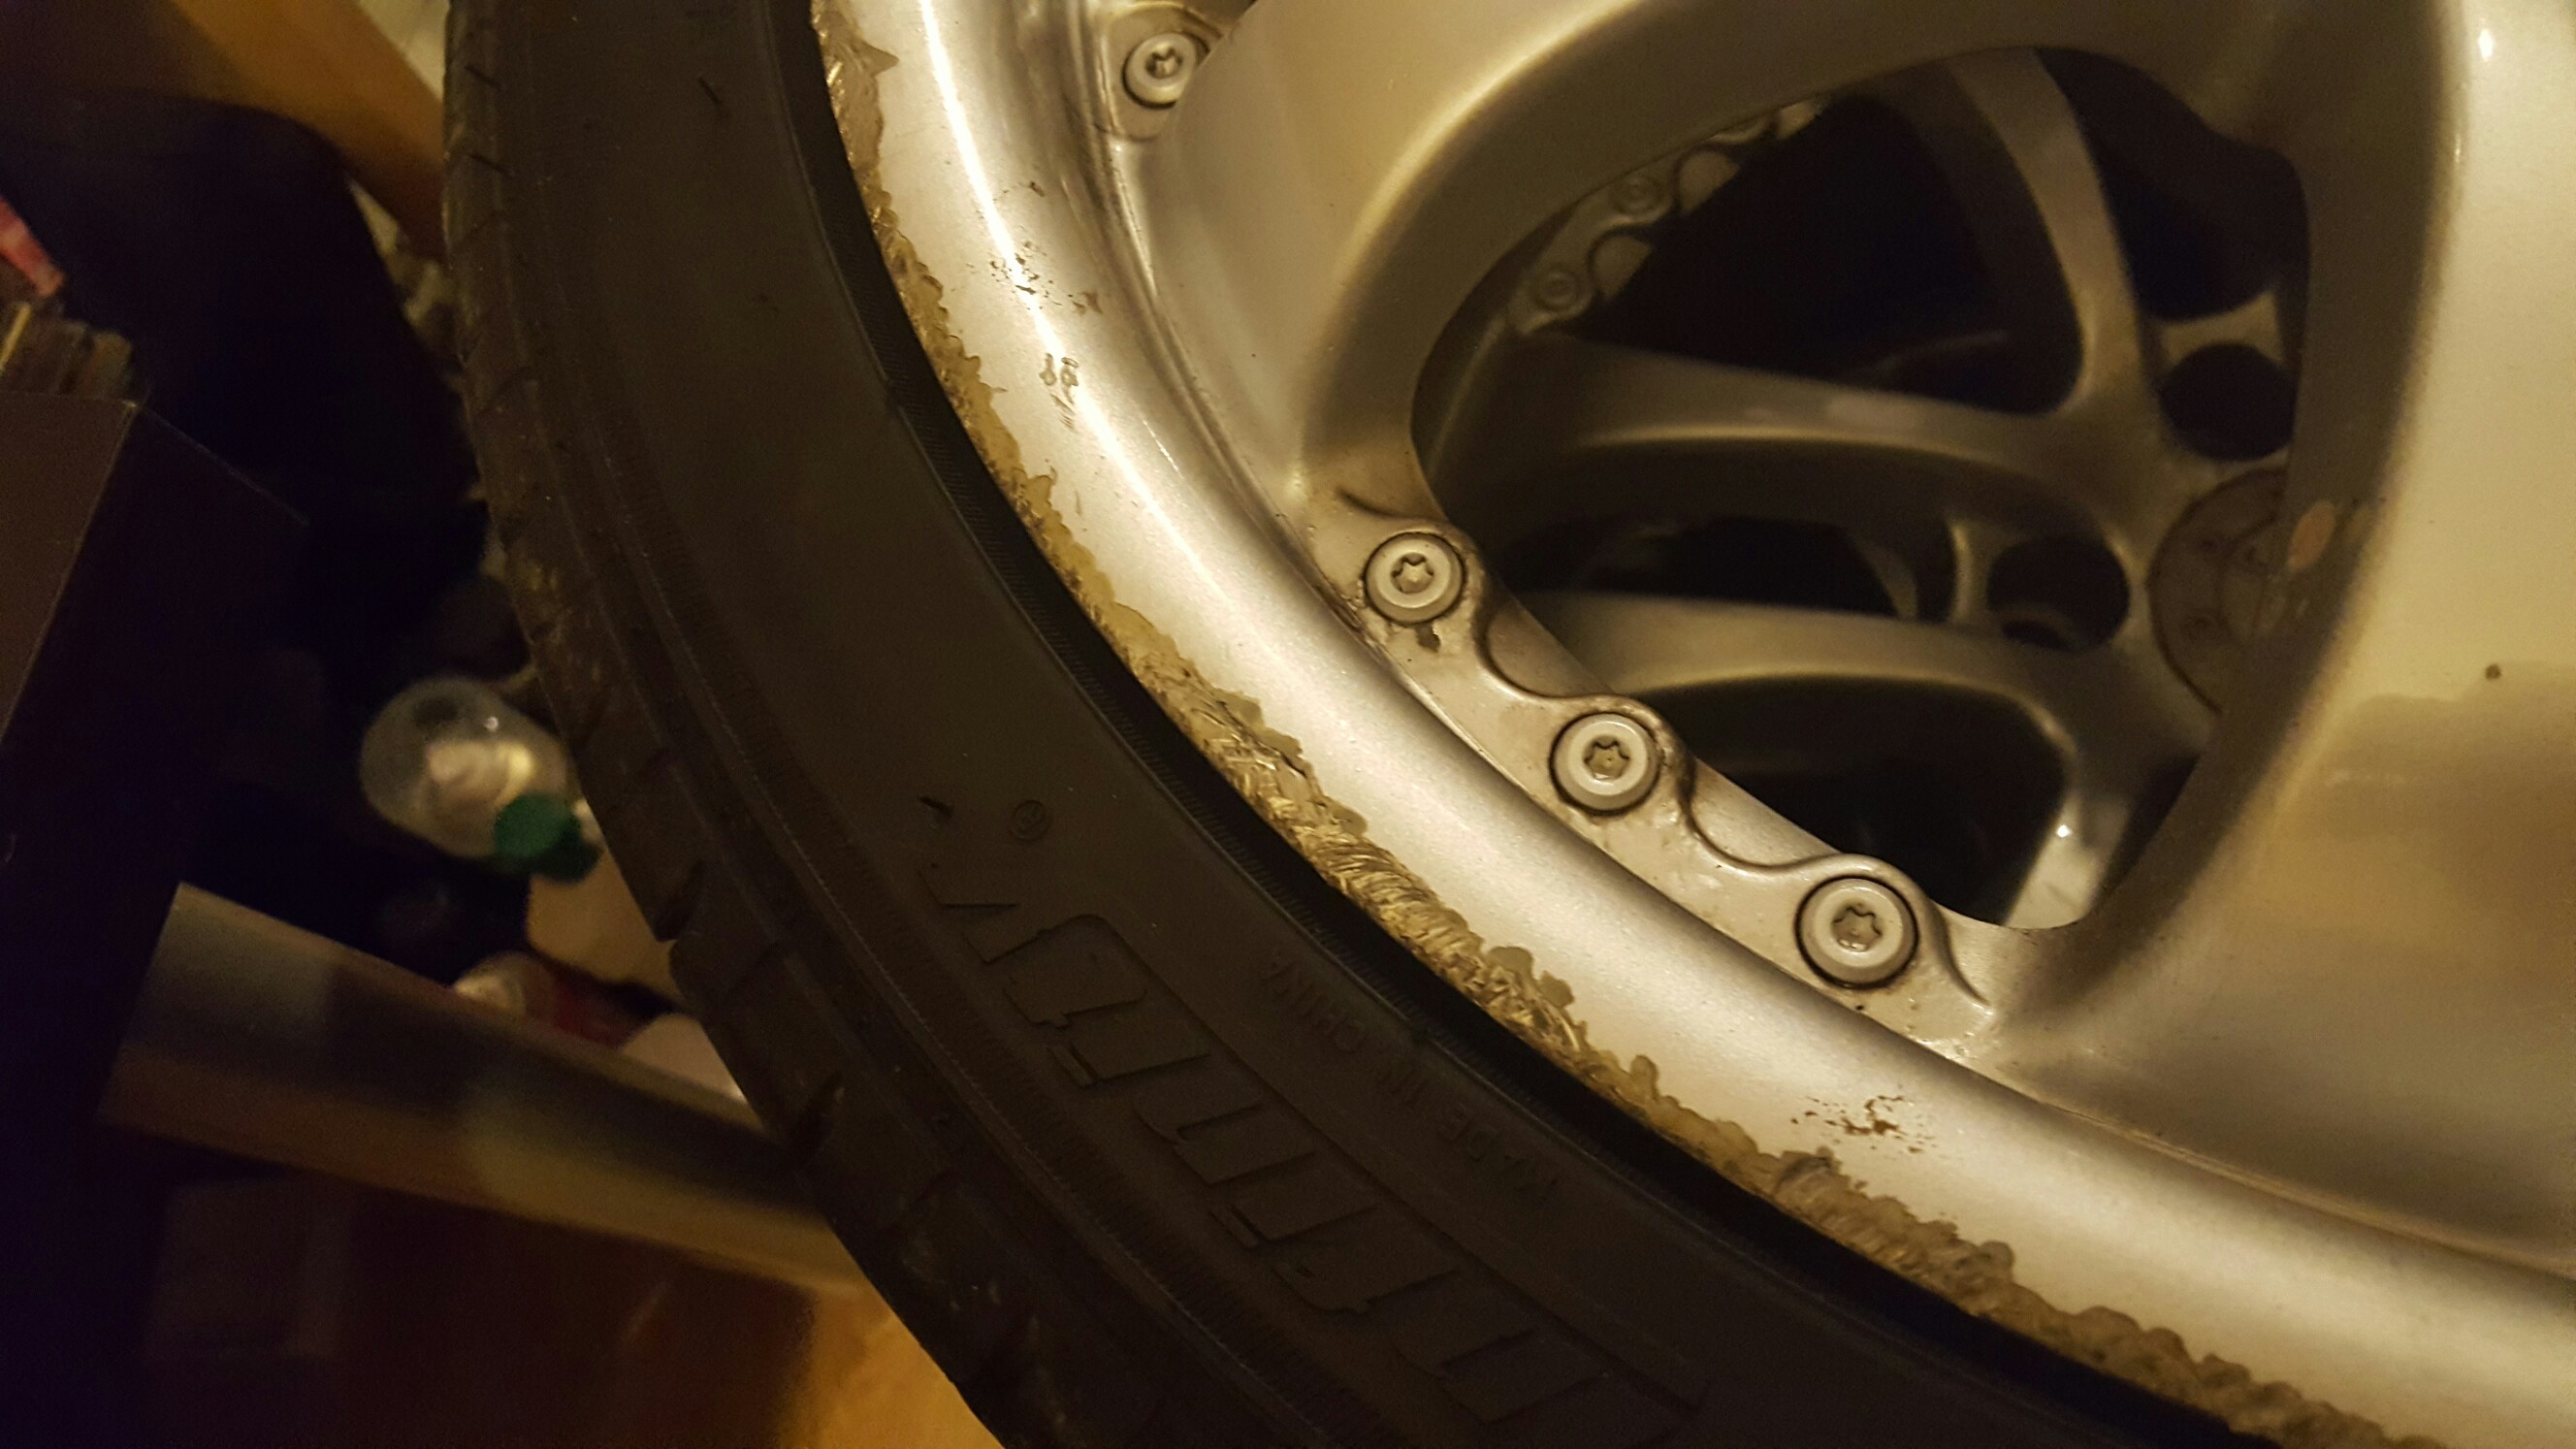
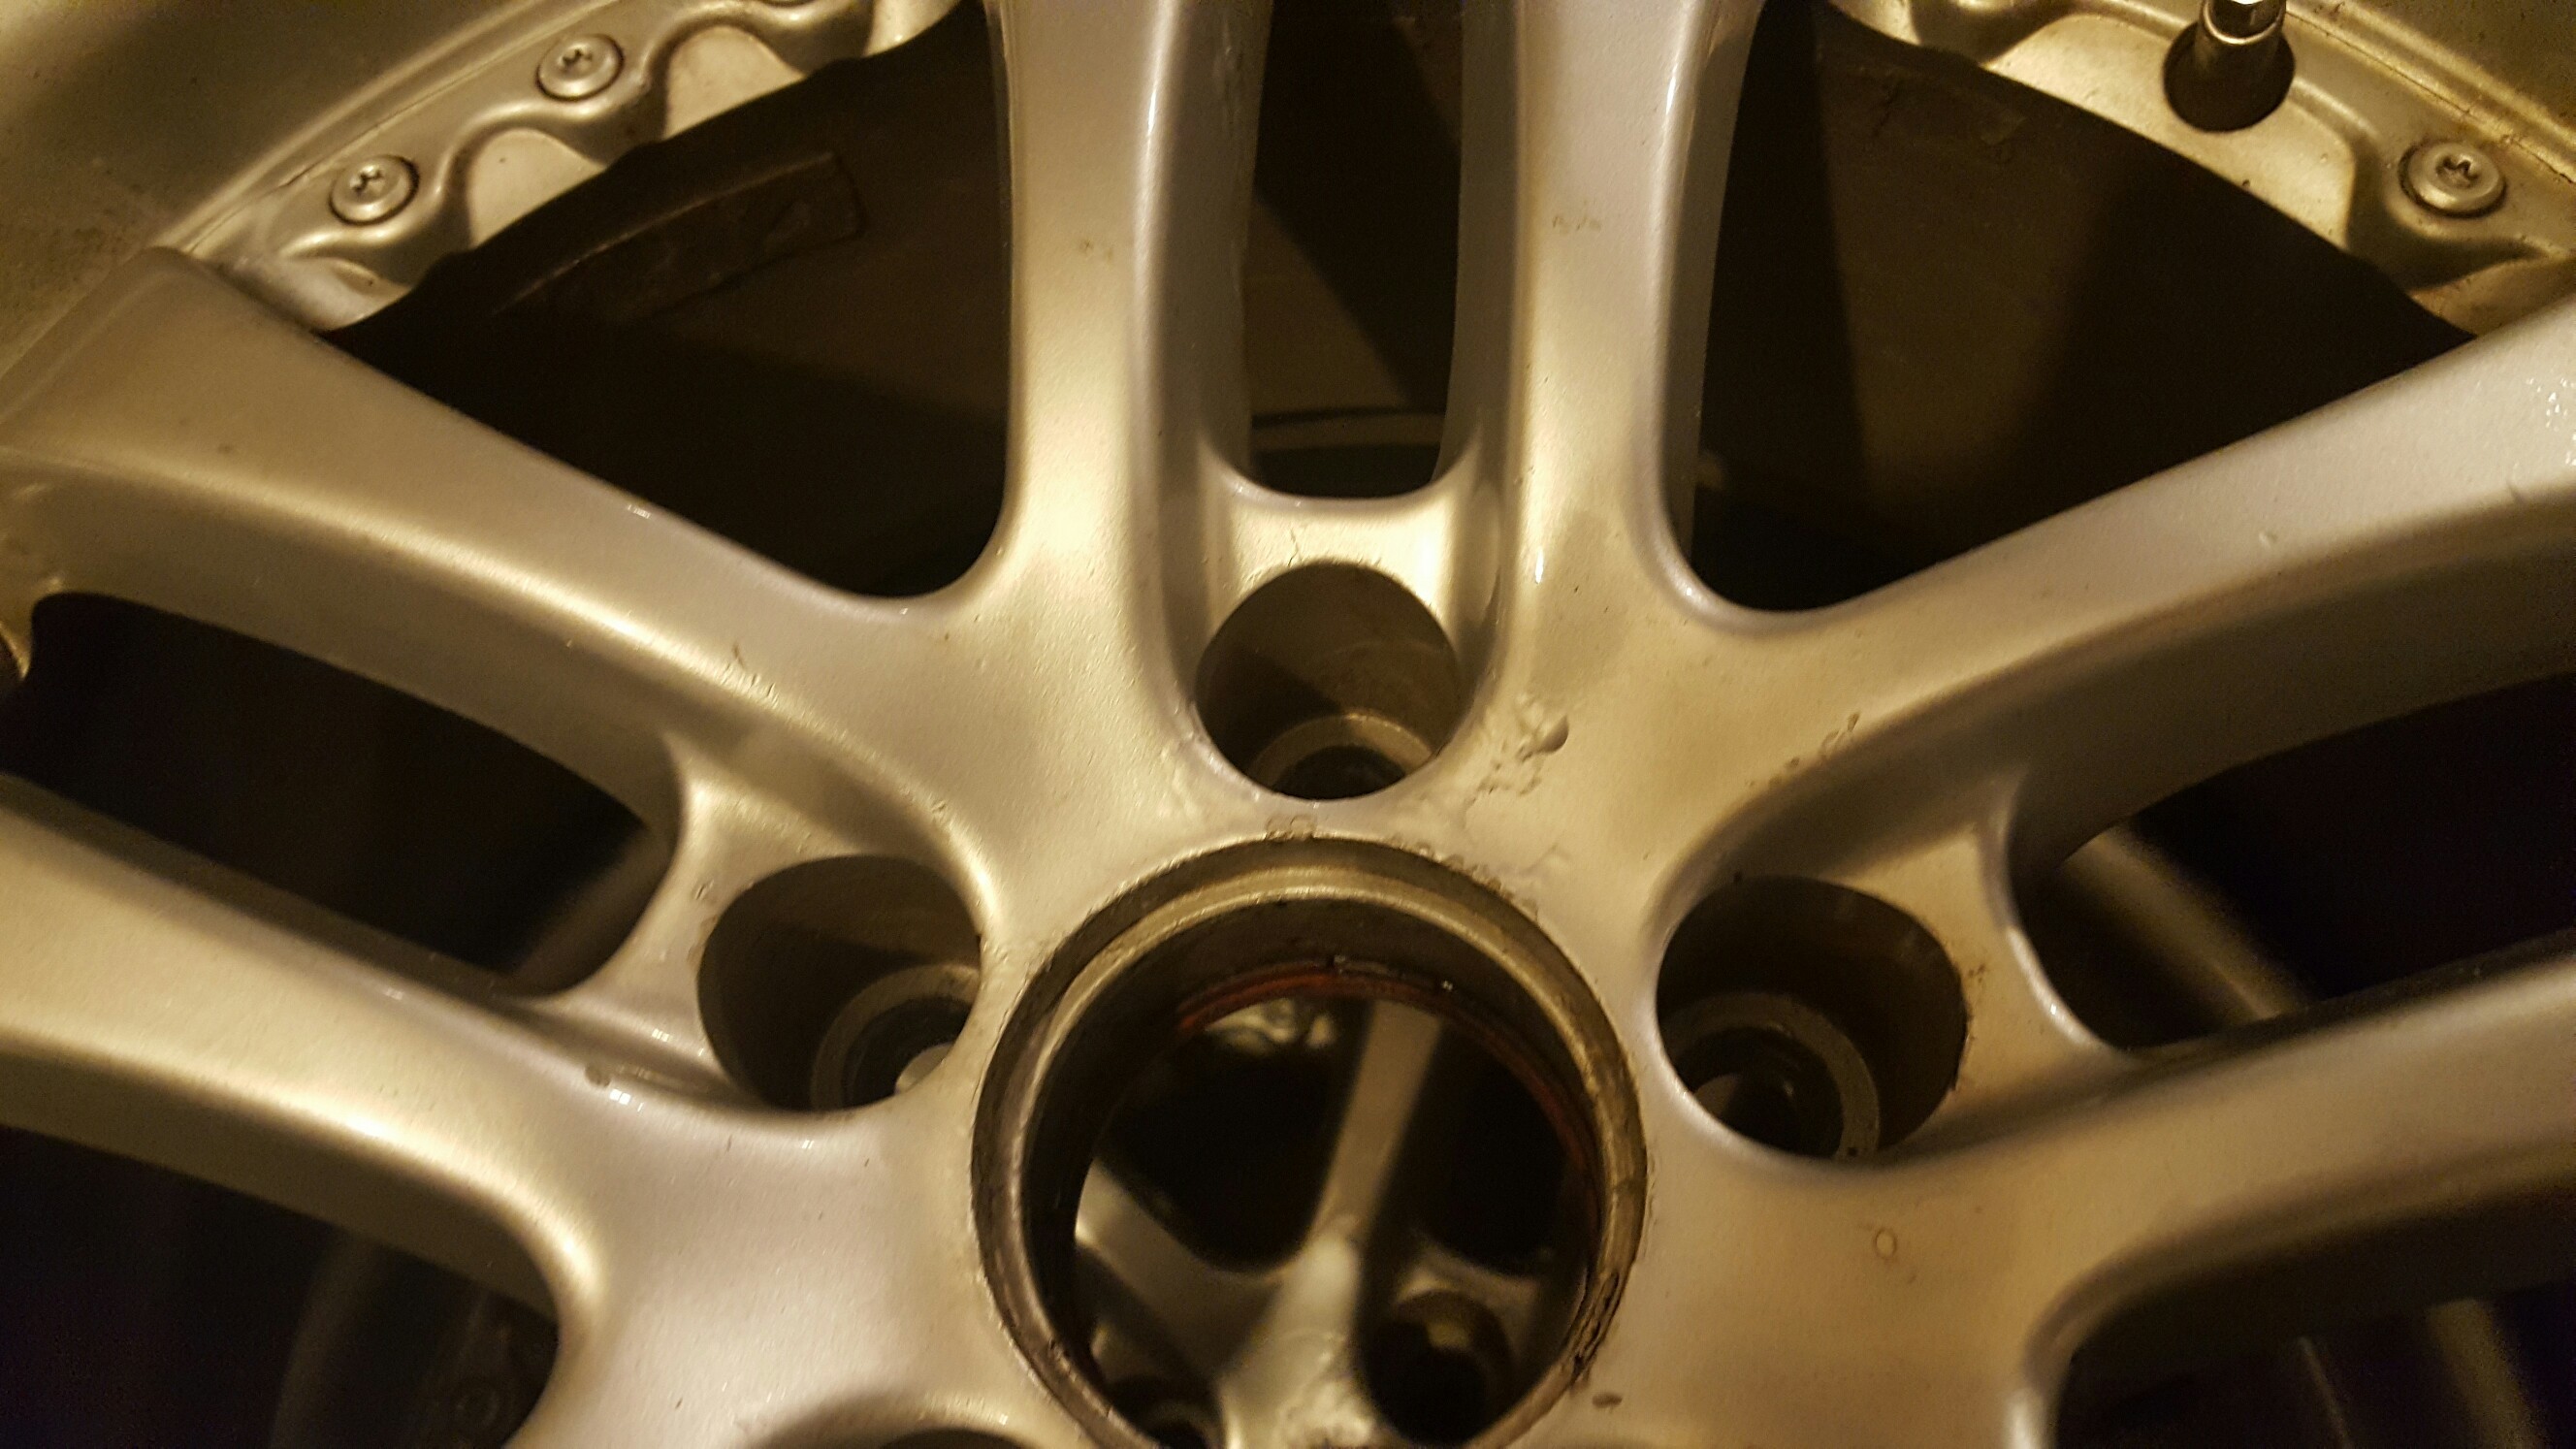
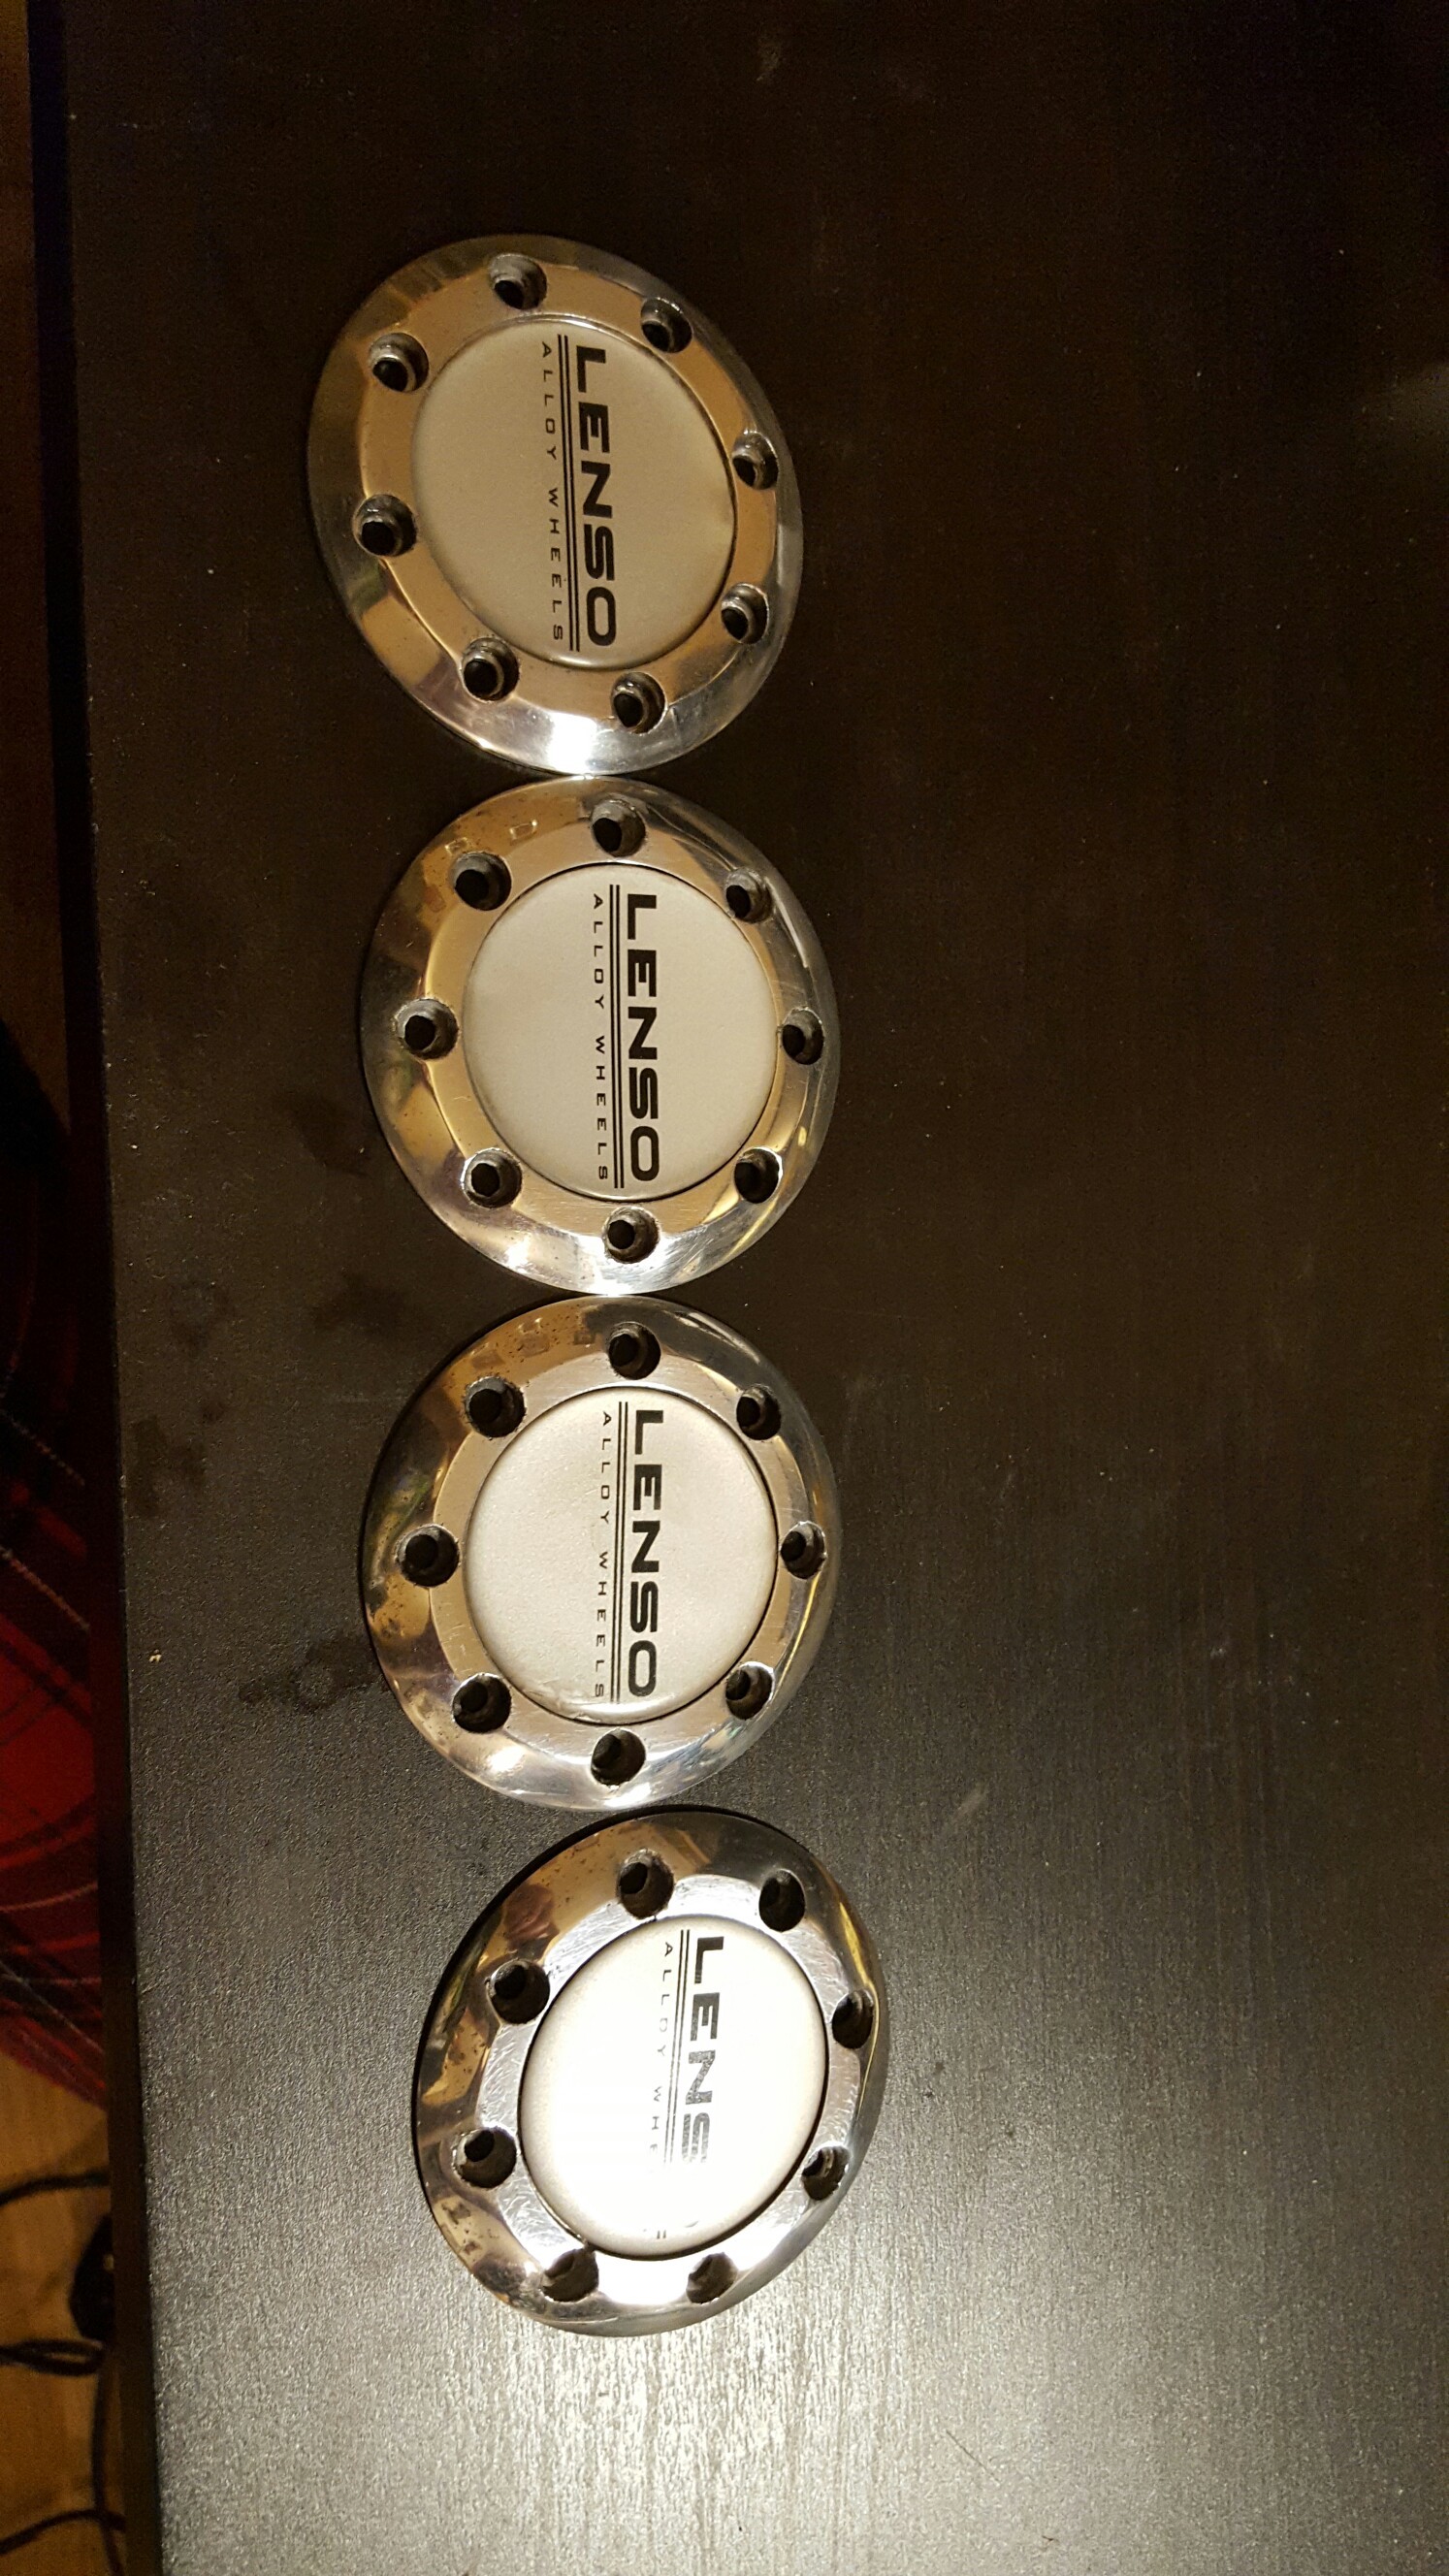
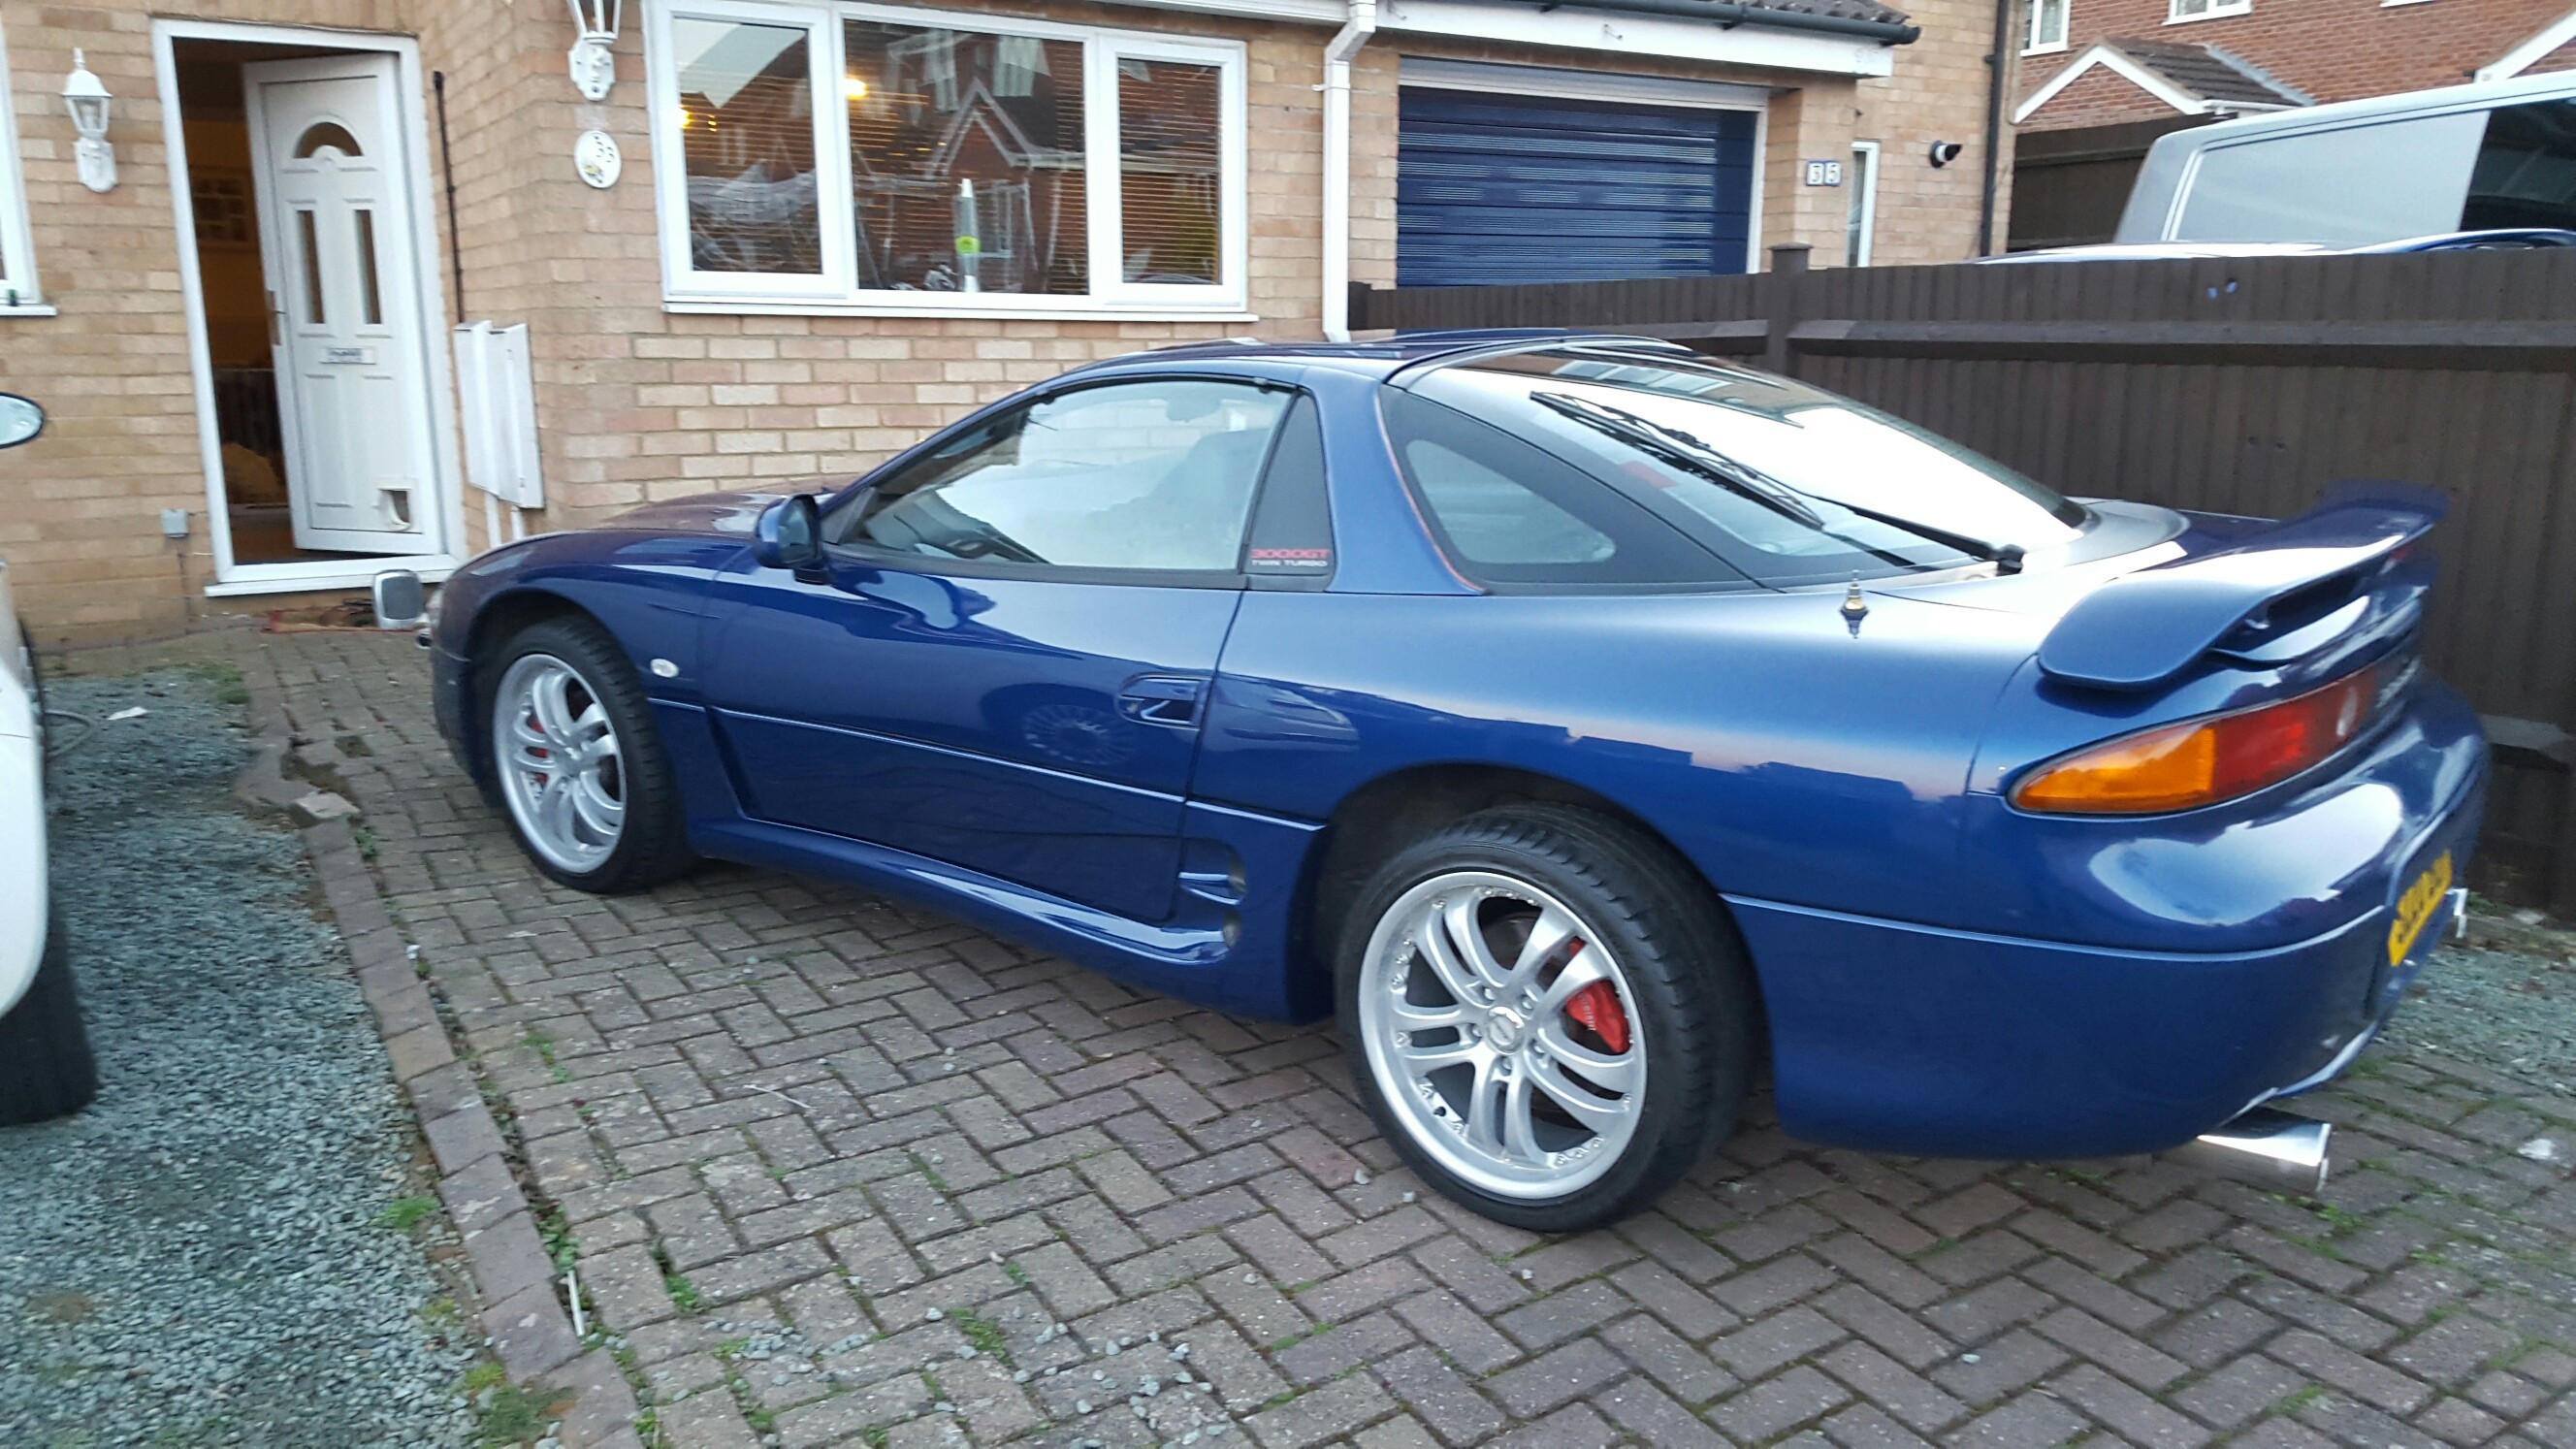
Restore wheels / change wheels. Done
I also shaved a tiny bit of plastic off the driver’s up switch button. Your see a little stopper on the switch itself for up movement. I shaved that also to help close the window